How to do the Big III
The Big III is a simple electrical upgrade for any vehicle to improve a better electrical charge from the alternator to the battery. Your stock electrical system consists of 3, or more, wires hence the term “Big III”. These are the main wires for your electrical charging system. The actual “upgrade” is we are adding a thicker gauge wire to the system.
*Notice I said add and not replace, reason behind this is the current will automatically take the path of least resistance, easier to do. You are more than welcome to replace all wires but be sure you do it properly otherwise you could harm the ECU.
The 3 wires are:
- Positive from battery to positive from alternator
- Negative from battery to ground
- Engine block to ground
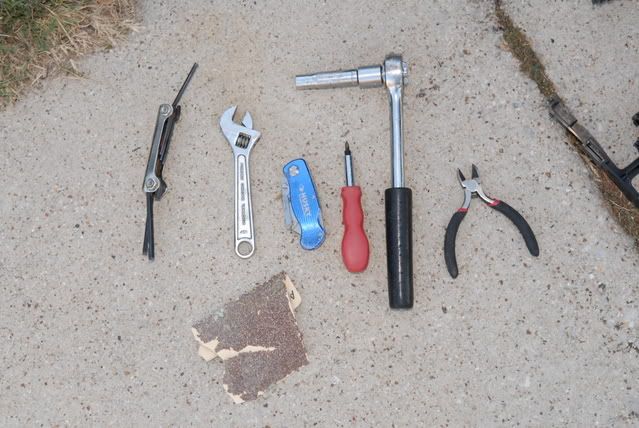
The materials you will need are pretty simple.
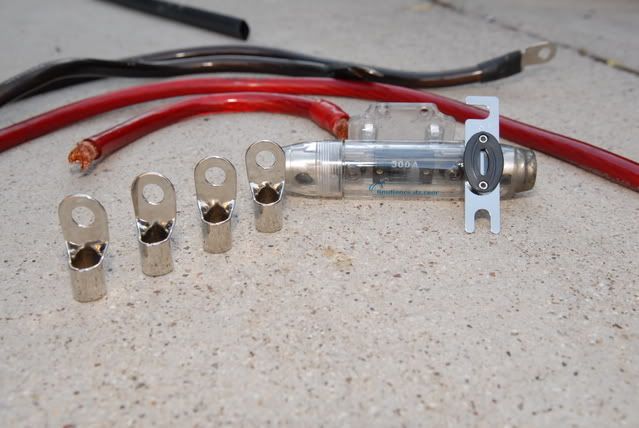
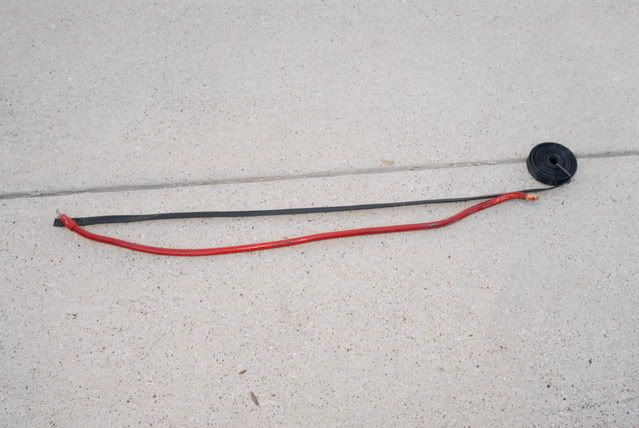
- ~ 6-10ft of wire((I suggest 1/0 awg ), depending on vehicle length varies
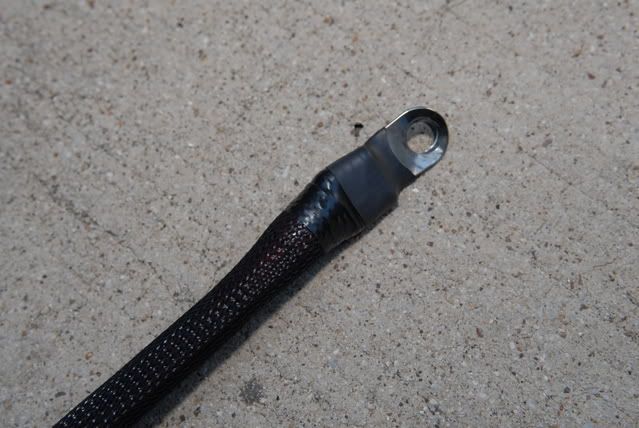
- 4-6 Ring terminals
- socket set or a crescent wrench
- Heavy duty wire cutters
- Fuse holder with appropriate fuse rating
- Sandpaper or file
Optional materials
- Special Battery terminals that accept 1/0 awg wires.
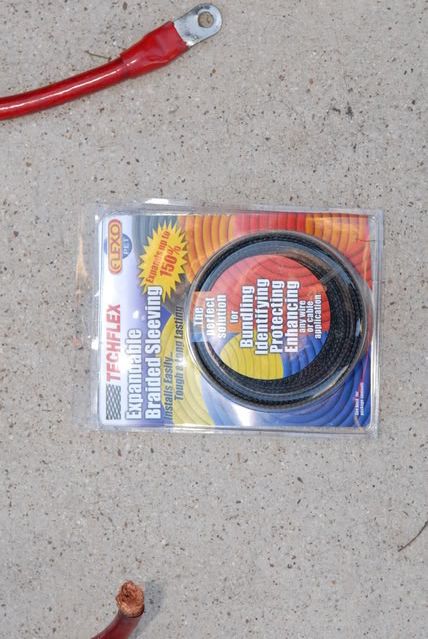
- Wire Loom (I highly recommend you use some sort of loom to protect the wire)
- Zip ties
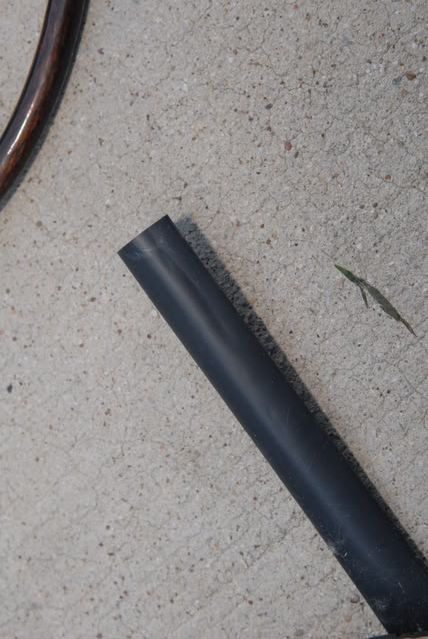
- Heat shrink tubing
- Electrical tape
- Screws
- Screwdriver
Steps to the Big III:
Step 1 Disconnect the Negative wire from the battery to interrupt the electrical so you can safely work with the positive wires
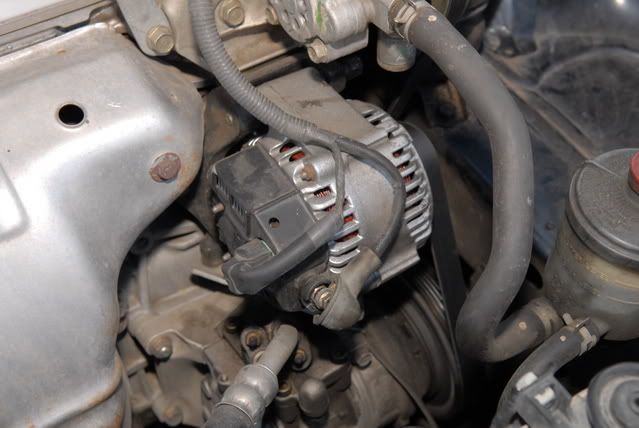
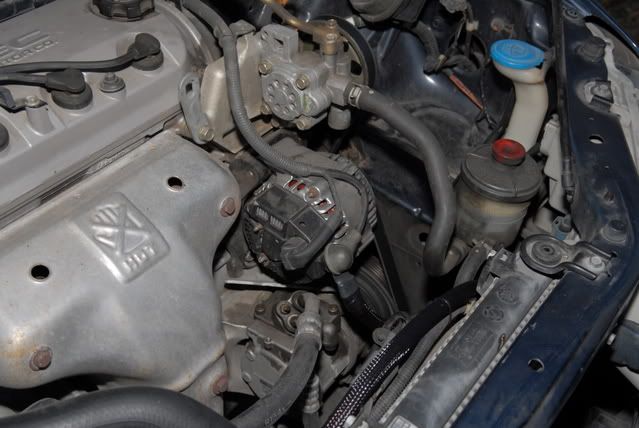
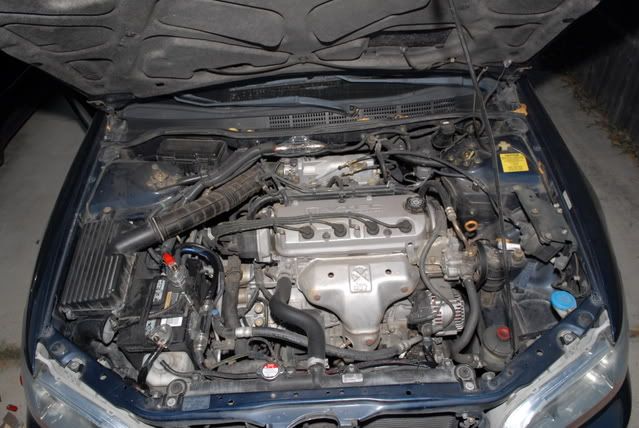
Step 2 Locate your alternator
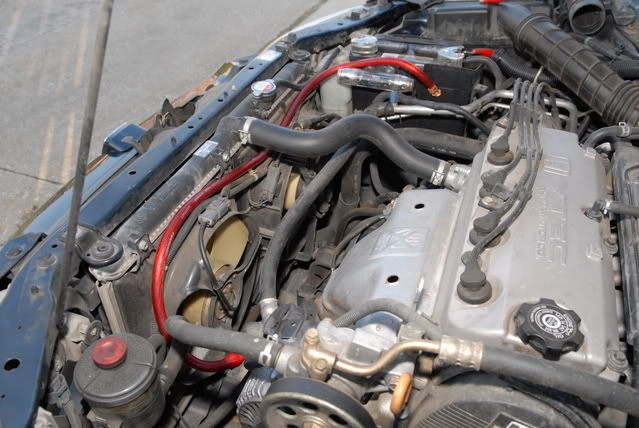
Step 3 Find a safe path to run your wire from the alternator positive to the positive on battery and measure how much wire you will need, cut wire to your needs. Strip the end of wire, apply a ring terminal, and crimp. I am taking the extra step and going to add wire loom and heat shrink tubing so it is protected since my wire is relatively close to engine.
Step 4 Unscrew nut on alternator positive and place your wire that you just had on there (a spacer may be required) screw nut back on tight, but not over tightened. Secure wire with zip ties to whatever path you have selected, if you choose to.
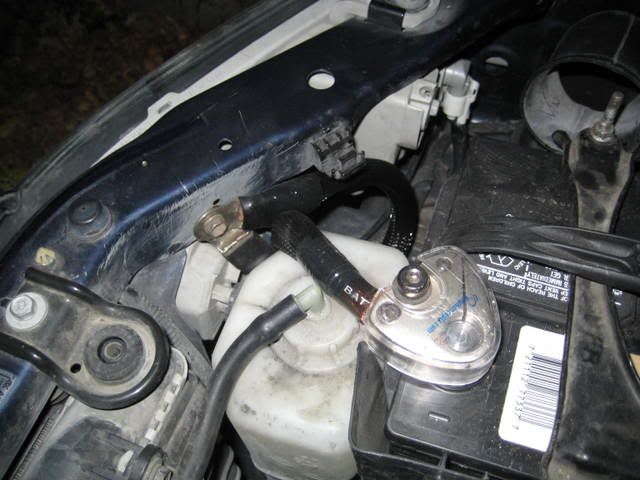
Step 5 Now before we take other end of wire and connect it to battery we must locate a spot for a fuse holder. Go ahead and bolt/screw the holder. I don’t recommend putting fuse in holder just yet, i know in photo mine is already in there.
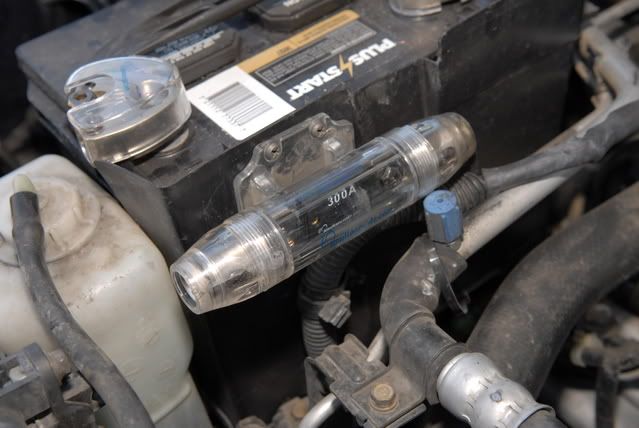
Step 6 Split wire where required (add ring terminals if needed) and connect the ends to each side of fuse holder.
Step 7 Connect the last end of wire to battery (add ring terminal if needed)
You have successfully upgraded the positive wire, now we move on to the grounds.
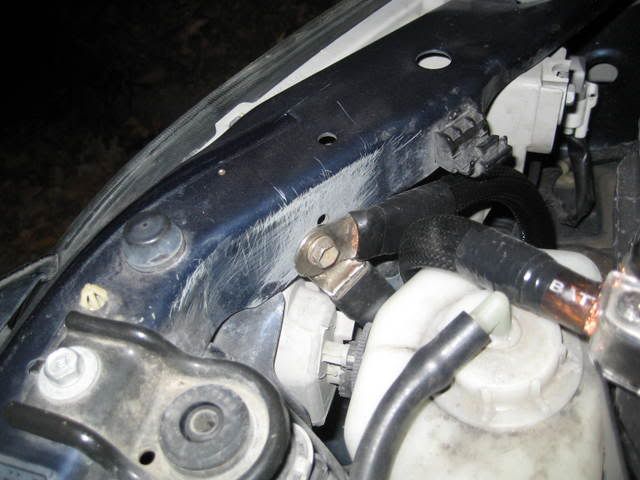
Step 8 Locate a good grounding spot relatively close to battery where you can bolt/screw to.
Step 9 Sand that spot so there is no paint in that small section. This will maximize the grounding point for least resistance and a solid connection.
Step 10 Locate any bolt on engine block that you can add a ring terminal too, I suggest finding the existing spot where stock wire is already connected. Measure length using wire of how much you will need. You will Measure from engine block to that earlier sanded spot (from step 9). Go ahead and add a ring terminal too both ends of that wire and connect the side where engine block is. Do not connect the other side just yet (you can but it is a waste of time at the moment since you will have to bolt another wire to that spot to in next step)
Step 11 Measure from Negative to that ground (from step 9). Cut your wire to length add ring terminal to side of ground (not battery side)
Step 12 Bolt the 2 wires together to that same ground (from step 9).
*ignore the wire that’s connected to battery right now, I took these photos after my big III was done.
Step 13 Apply fuse to fuse block
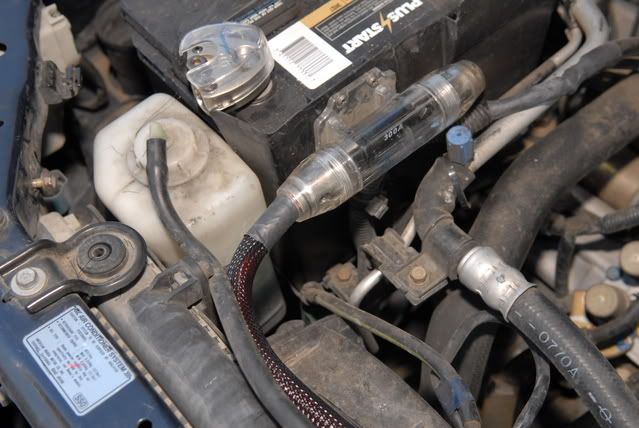
Step 14 Now this is your final wire(s) to connect to complete your circuit. Add a ring terminal to wire if necessary and connect wire(s) to negative on battery. *including stock ground, but its optional
[i]
You have successfully upgraded the ground wires; your Big III upgrade is now complete
[/i]
info from here
http://www.stevemeadedesigns.com/board/topic/13280-how-to-do-the-big-3-tutorial/