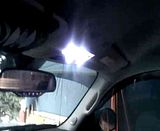
I wrote up a how to guide for switching interior lights to led’s … THis is meant for NNBS silverados. but will be similar to most vehicles for how to mount.
Here is a fairly inexpensive mod that makes your truck look a lot better inside, and will allow you to see inside at night.
I did a bunch of research of what would fit / what panels look the whitest and have a little blue tint to them. Here is what I went with.
First of all, I ordered from this seller on ebay because they offer 60 days return , and they pay the return shipping fee! It was great knowing that i could return if the color of the panels did not match up exactly. A+ seller!
For the Middle dome light above center counsel.
http://www.ebay.com/…984.m1439.l2649
When i ordered them the price was $9.98 ea. The price just went down so great time to hop on!
For the front map lights, I went with these…
http://www.ebay.com/…984.m1439.l2649
These were only $3.98 ea.
The main reason I got these panels was they are from the same seller / and are the same LED SMD 5050 chips. One pet peeve of mine is when people spend the time and $ to replace there interior LED’s and they are different color whites. Mine are identical now.
Here are a bunch of pictures of the install.
First up is the main center dome light.
Easiest way to do it was remove it from the headliner. To do this take a thin screwdriver and pop out the lens from the side with the indentation . drop lens door down and you will find the whole light will want to come out of headliner. Drop it out and take off harness also with assistance from small screwdriver blade.
Once you have it out allow factory bulbs to cool. They WILL be HOT. Next pop out the bulbs.
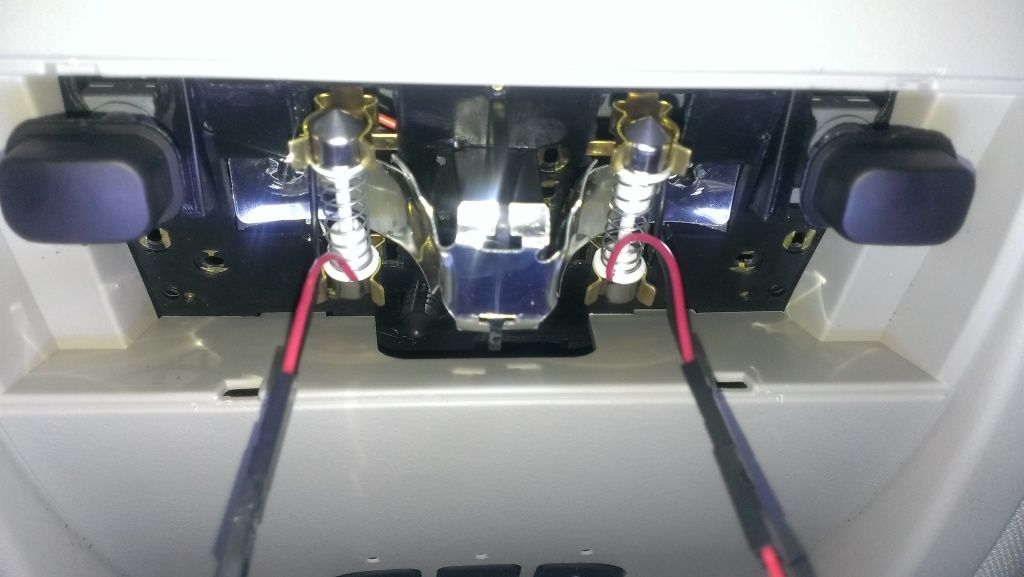
Open the box from LED and find the adapter that looks like a bulb with a spring in middle. Plug the LED panel into the connector on both sides, and temporarily plug the harness back in to make sure you are in the correct way. if panel does not light switch around the adapter.
I took out the metal light deflector inside the unit and tossed it since it was no longer needed.
Next step is to stick and hot glue the panel to the inside of light.
Looking at my pictures you should be able to see and compare with your how to do it. Final step is to re install and ENJOY!
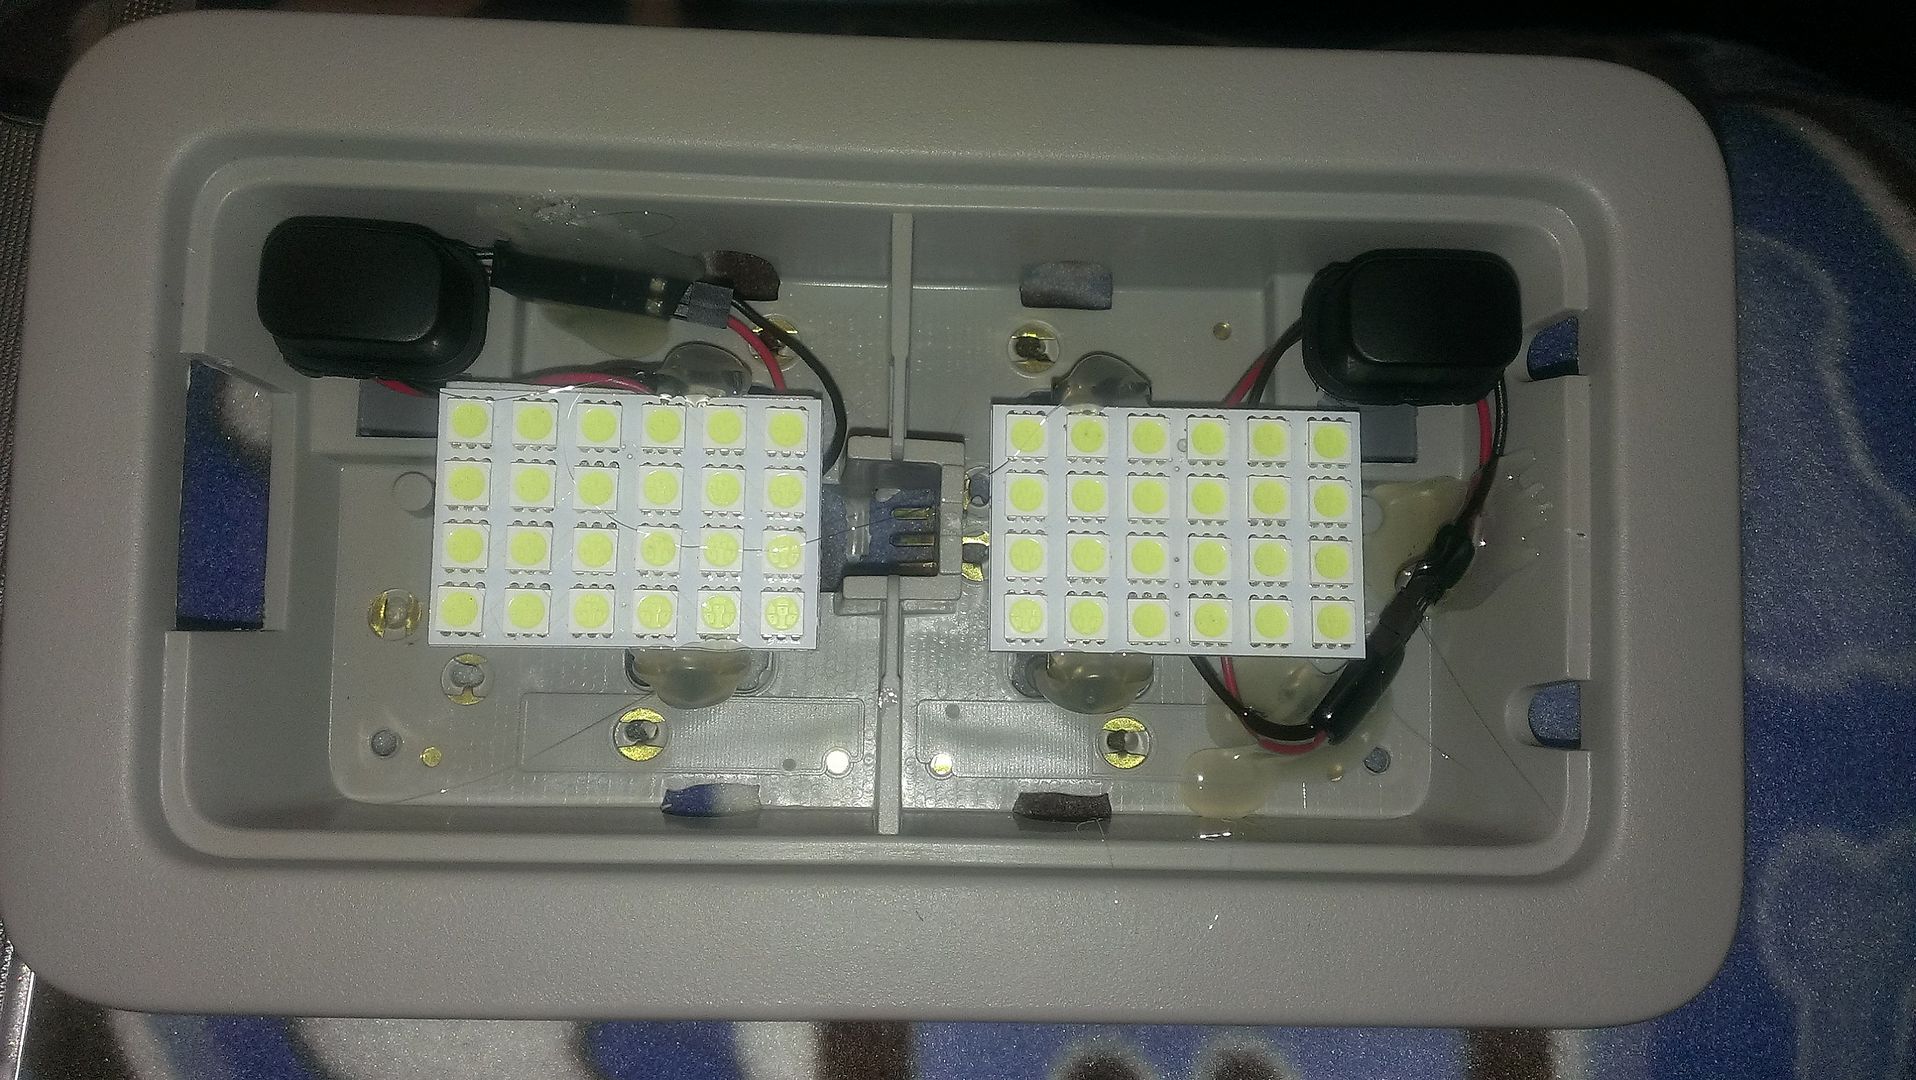
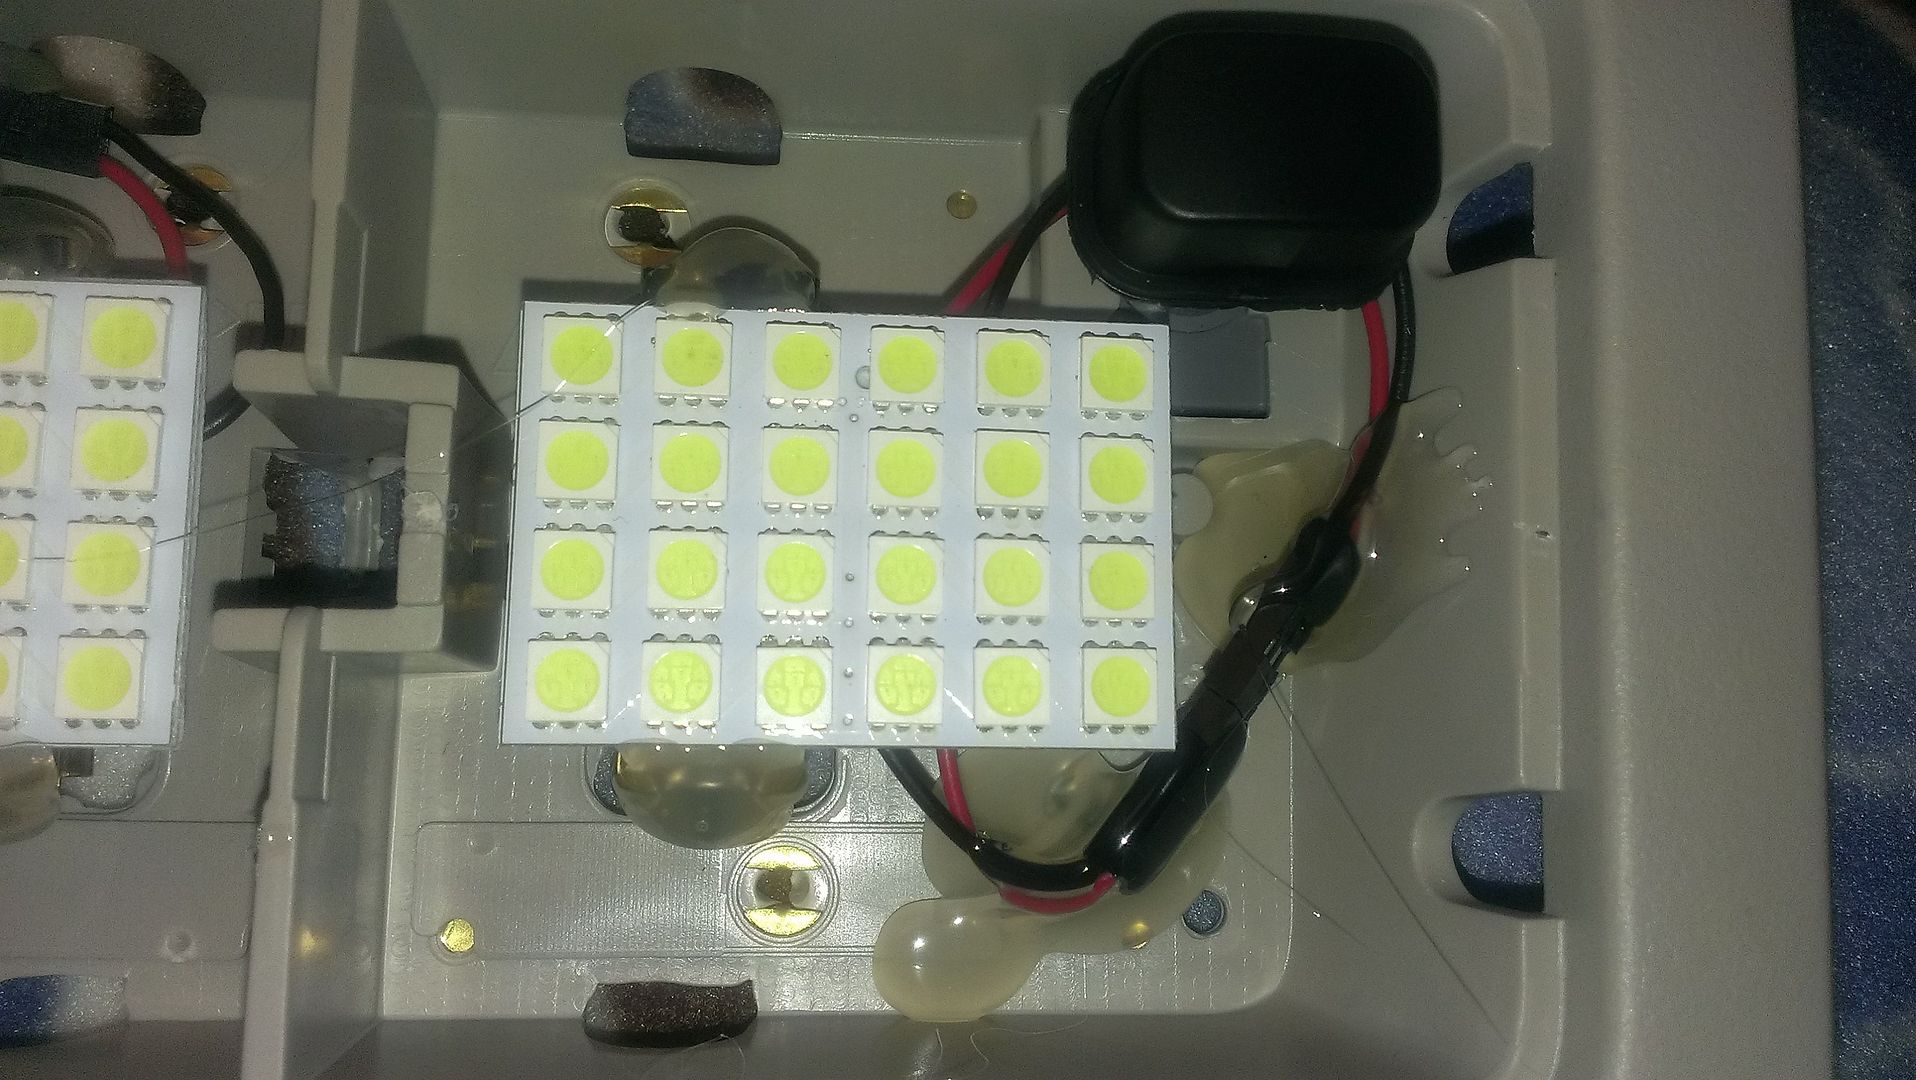
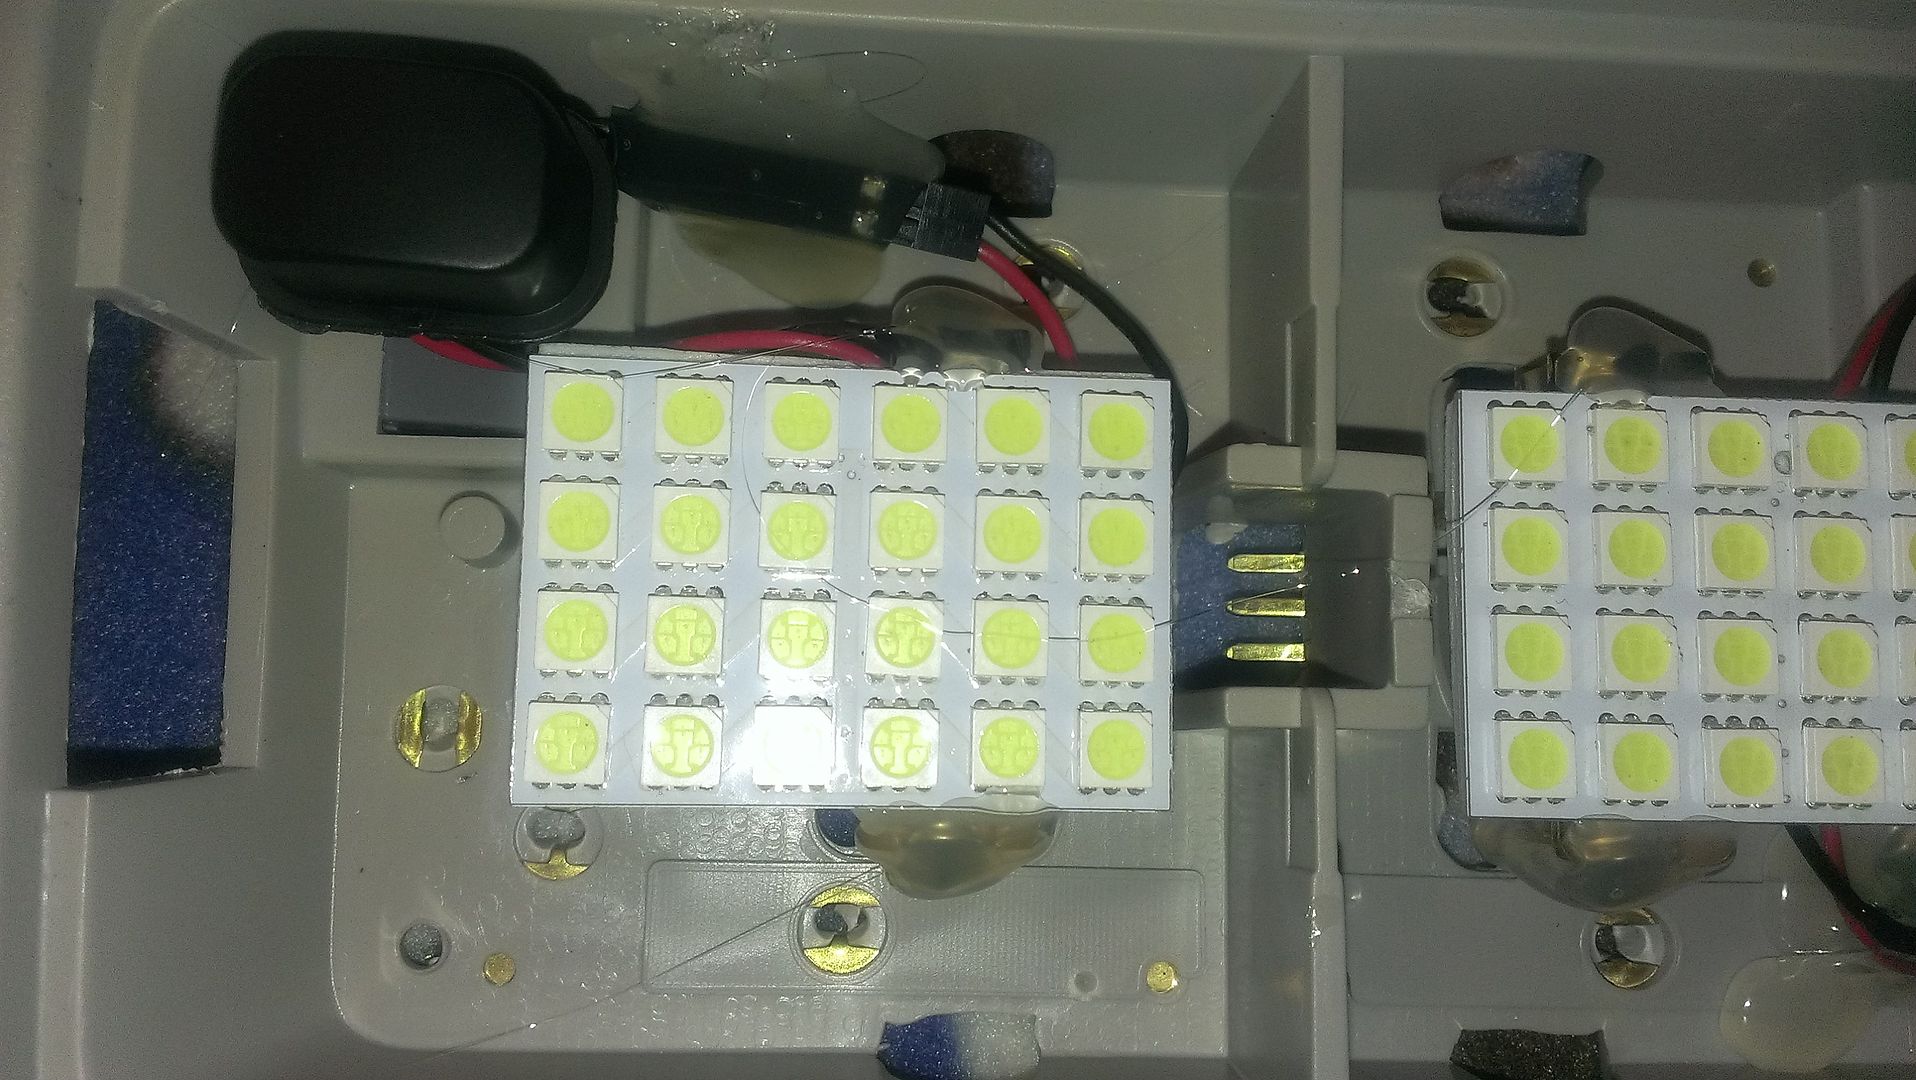
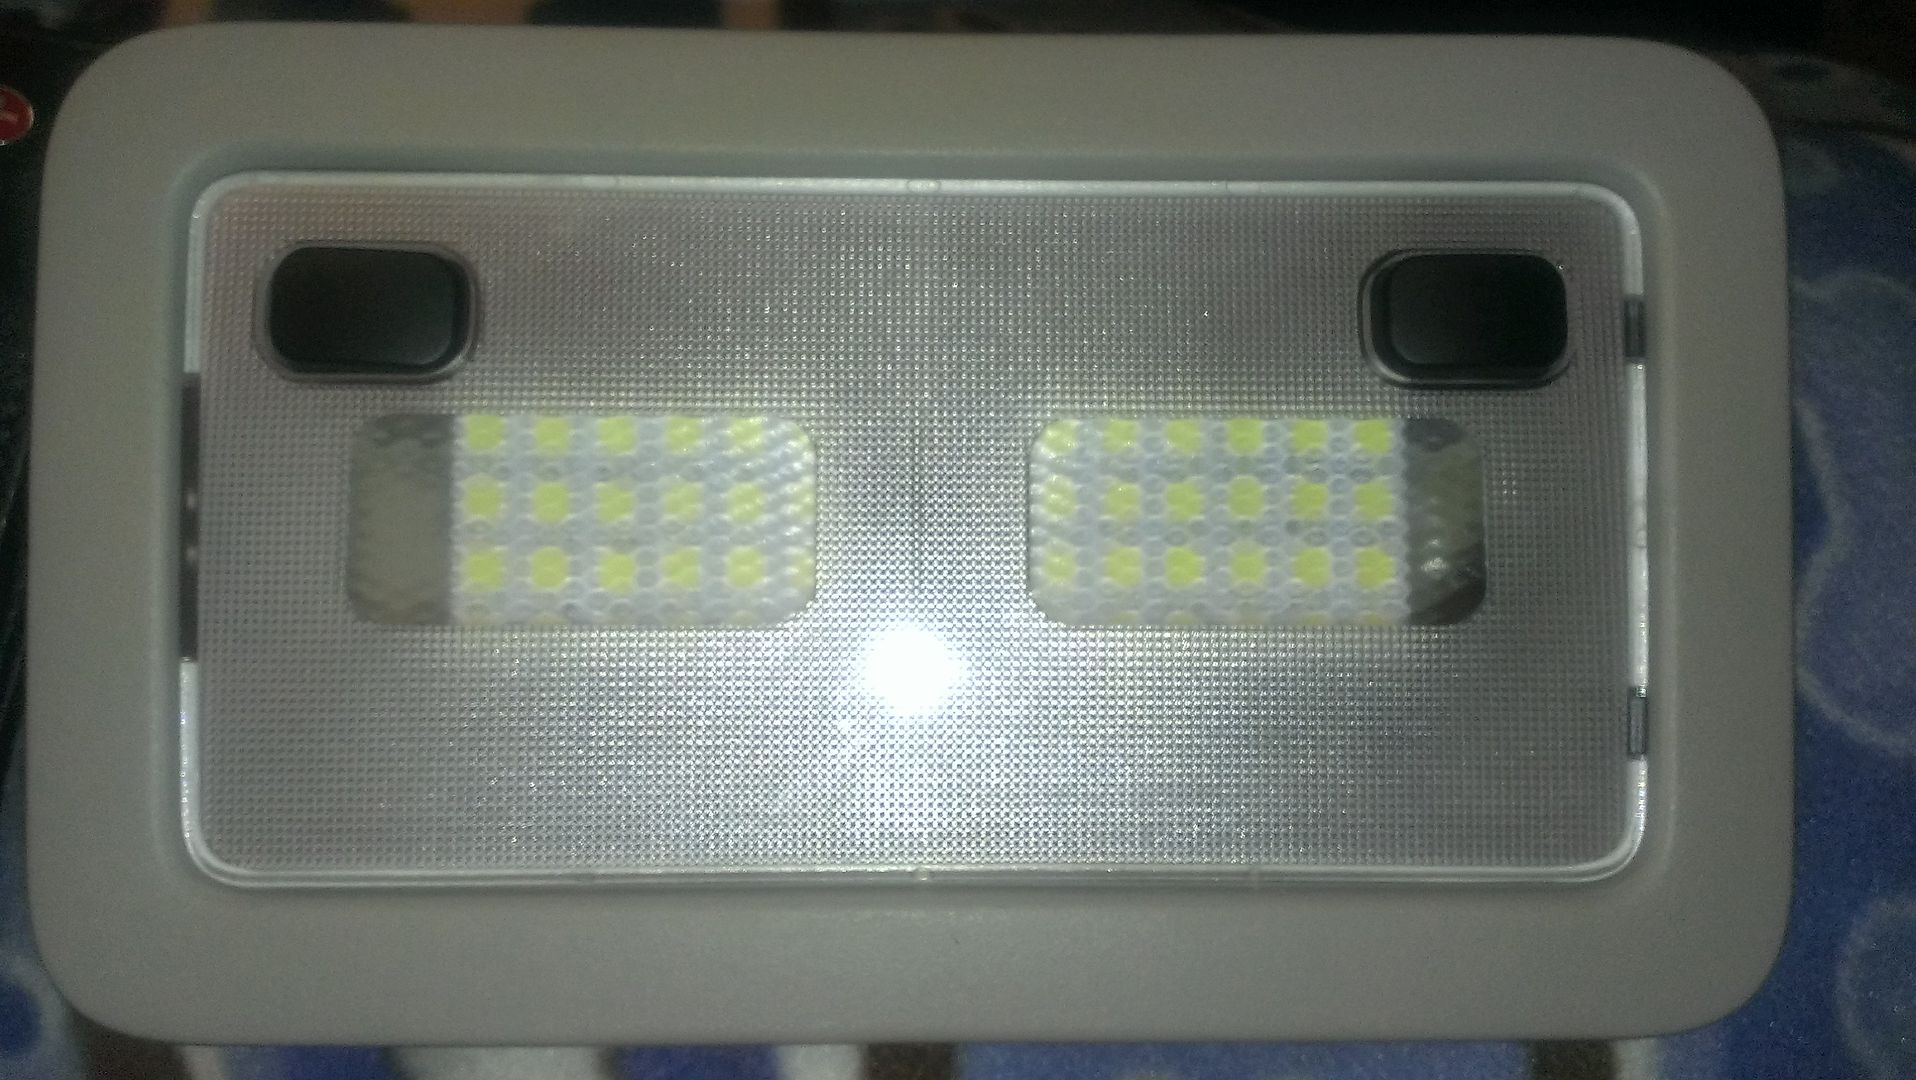
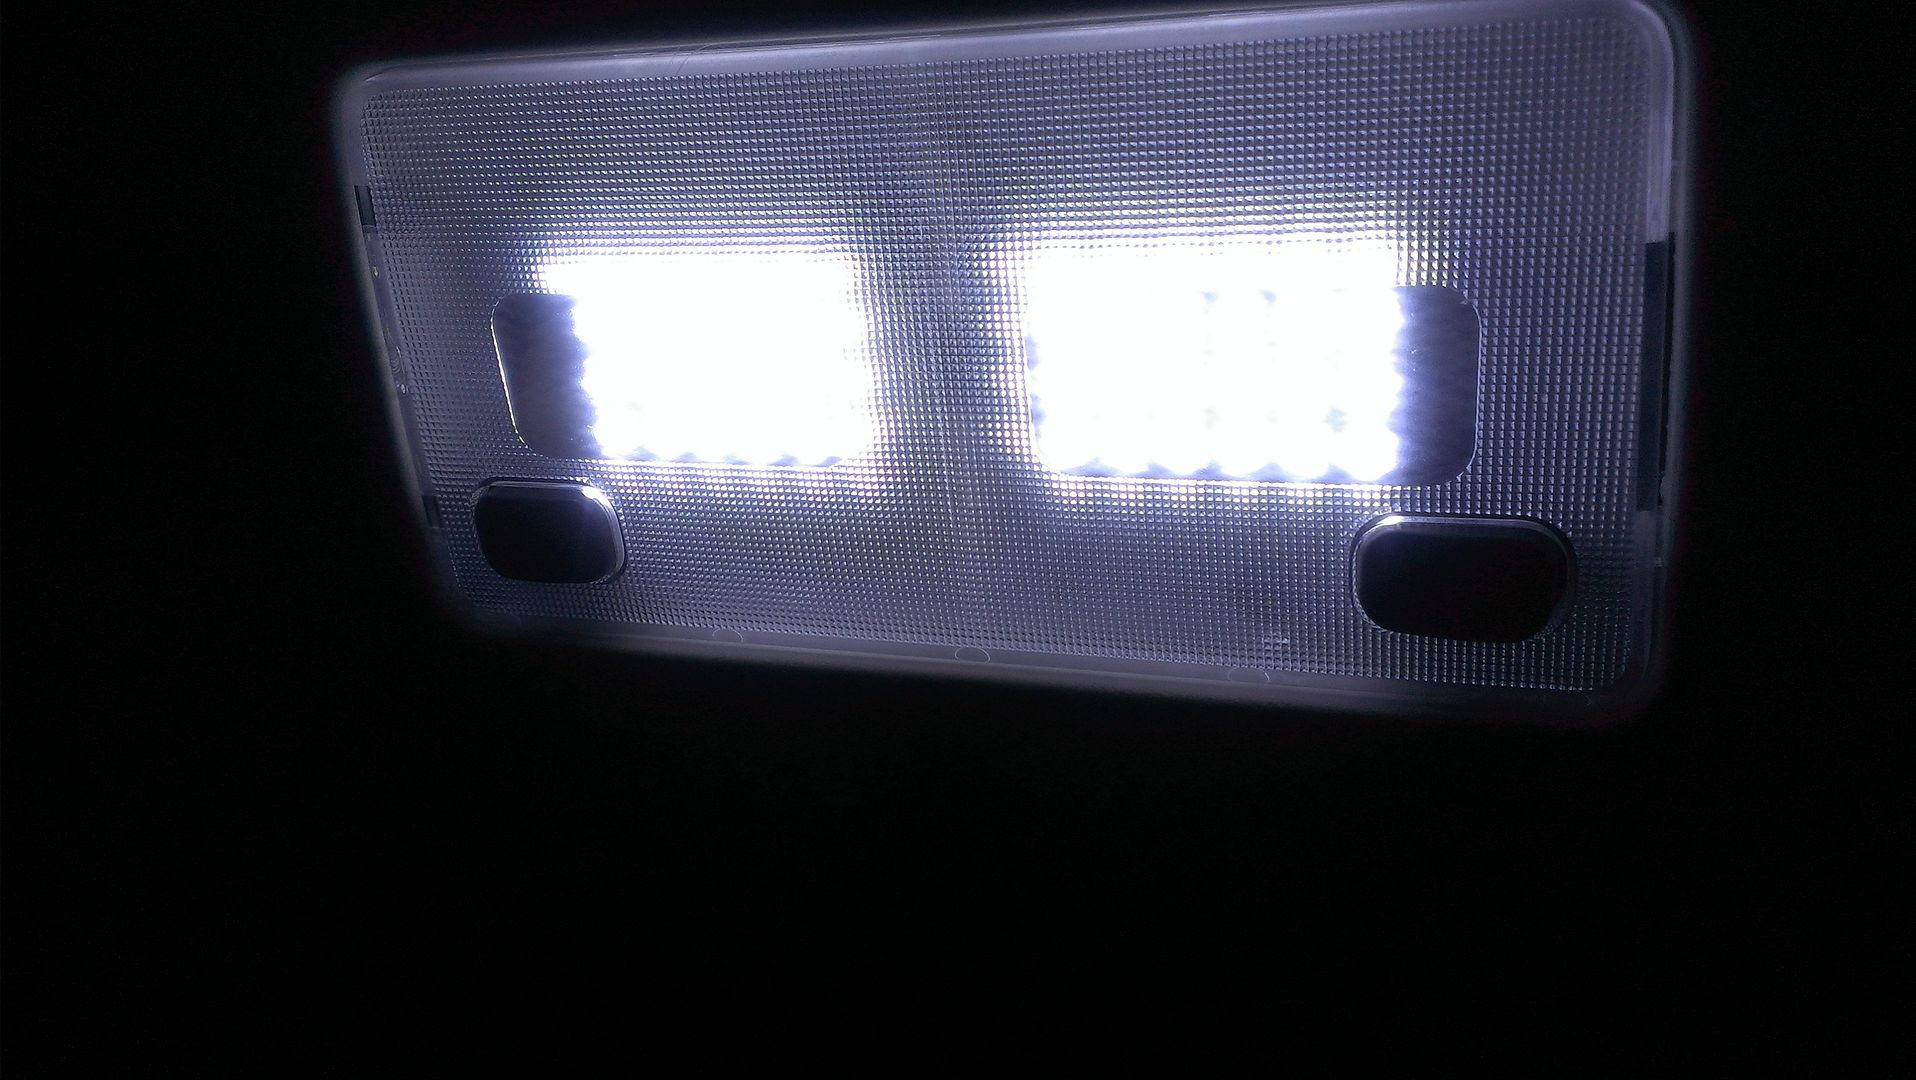
Here you can see the difference from the new LED’s to the stock bulbs in front.
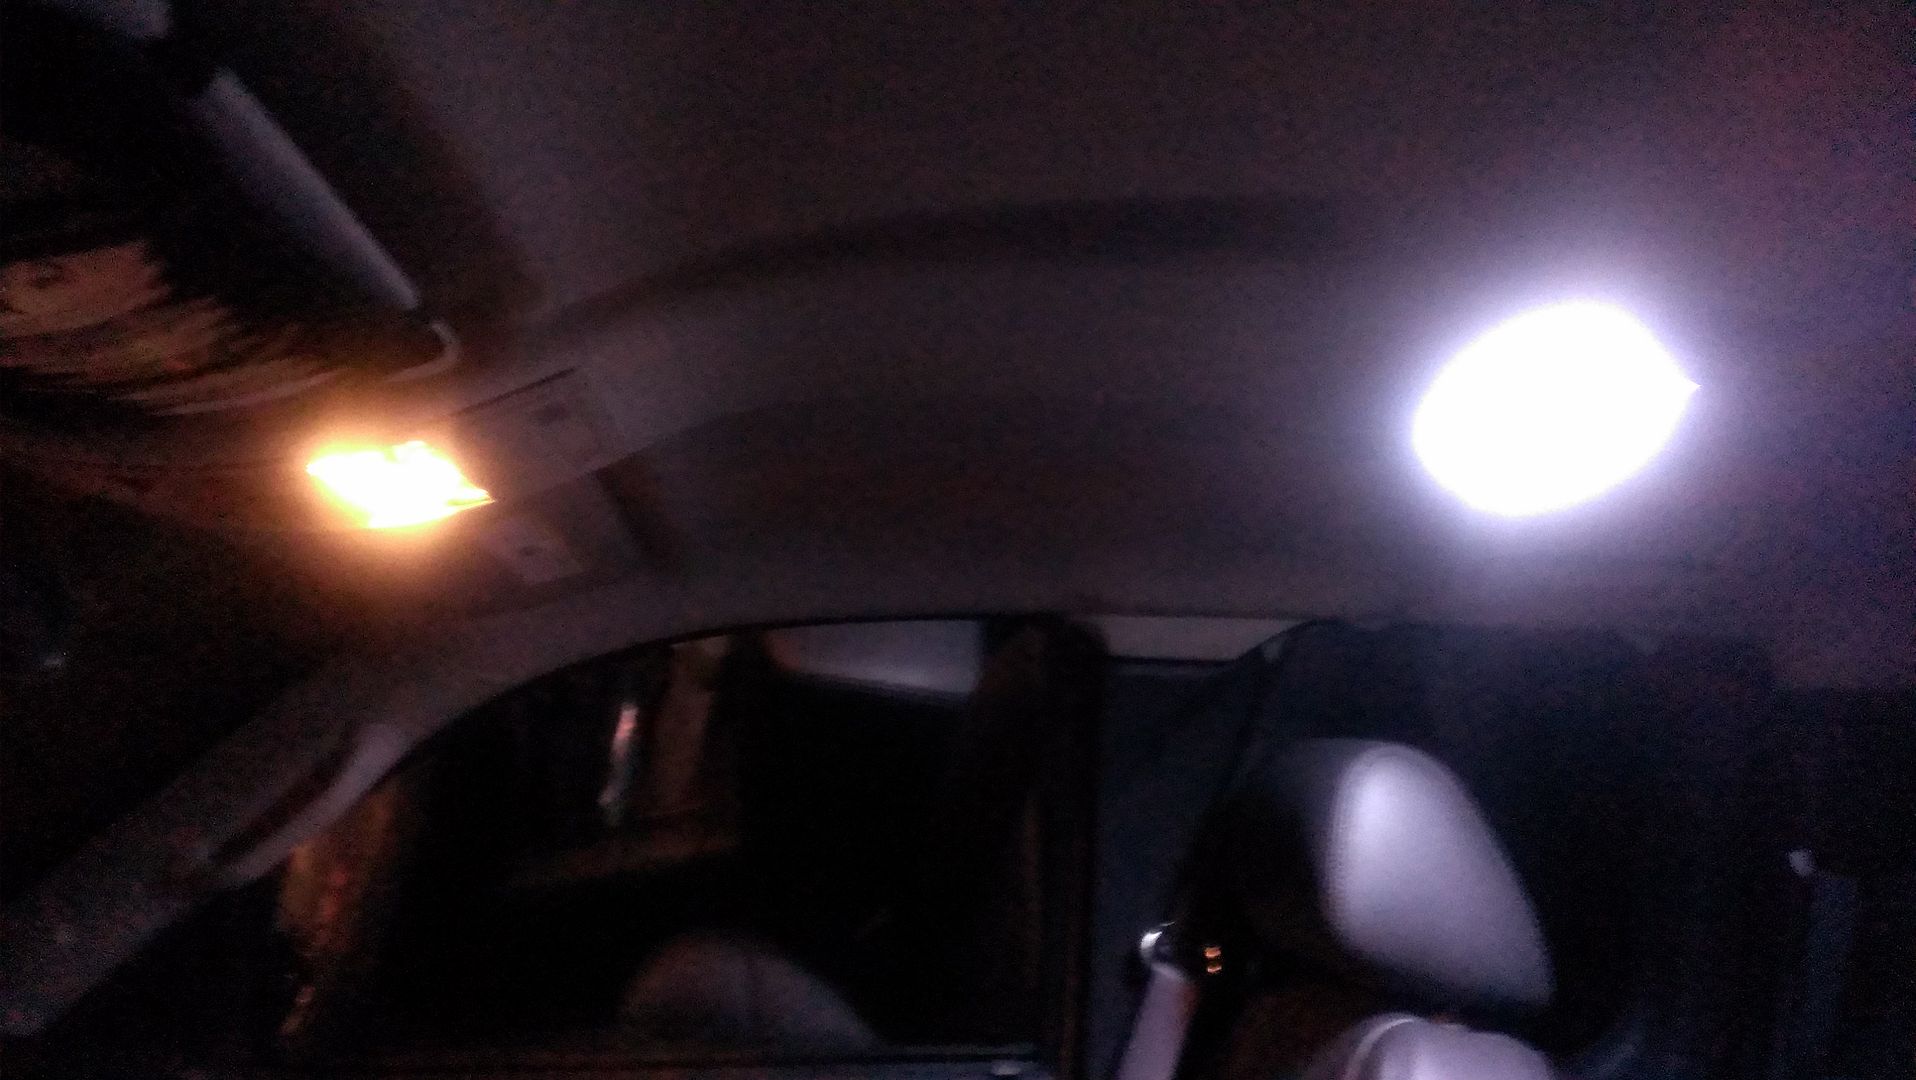
Next up is the front map lights.
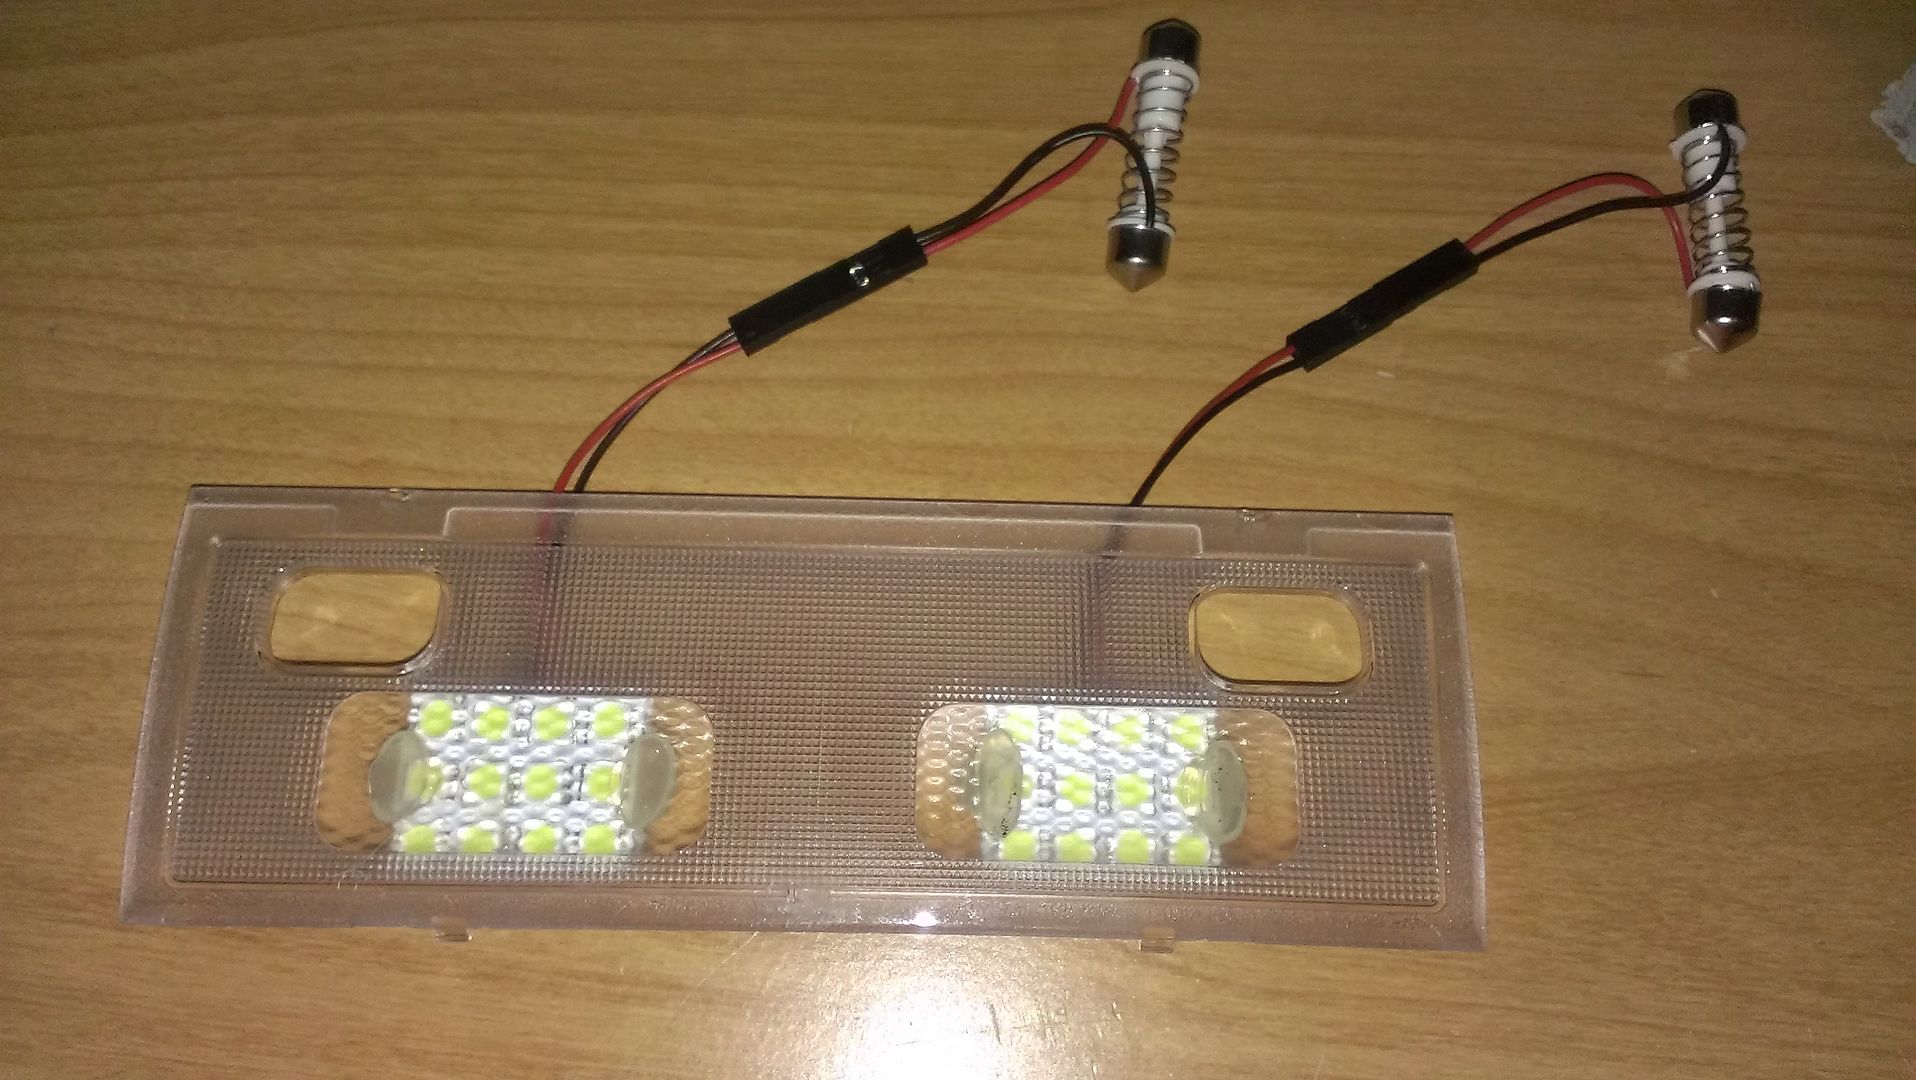
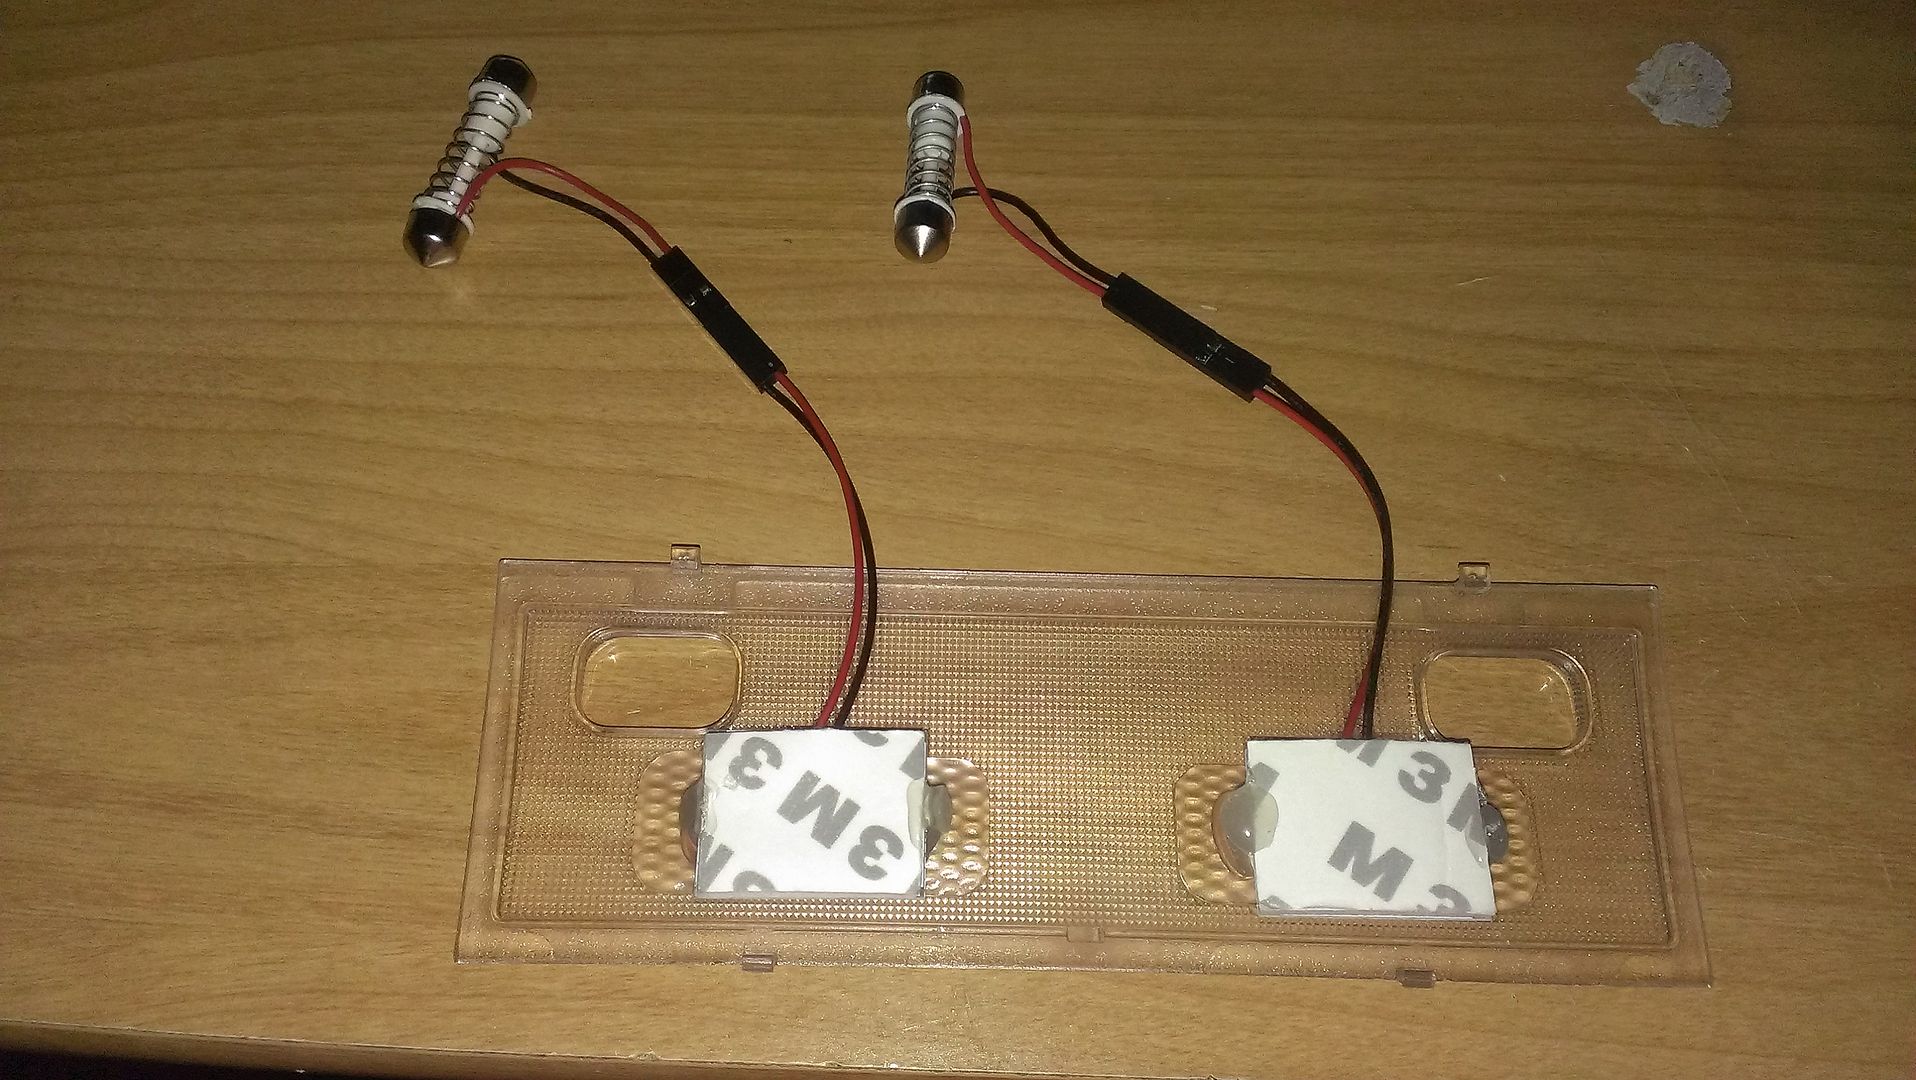
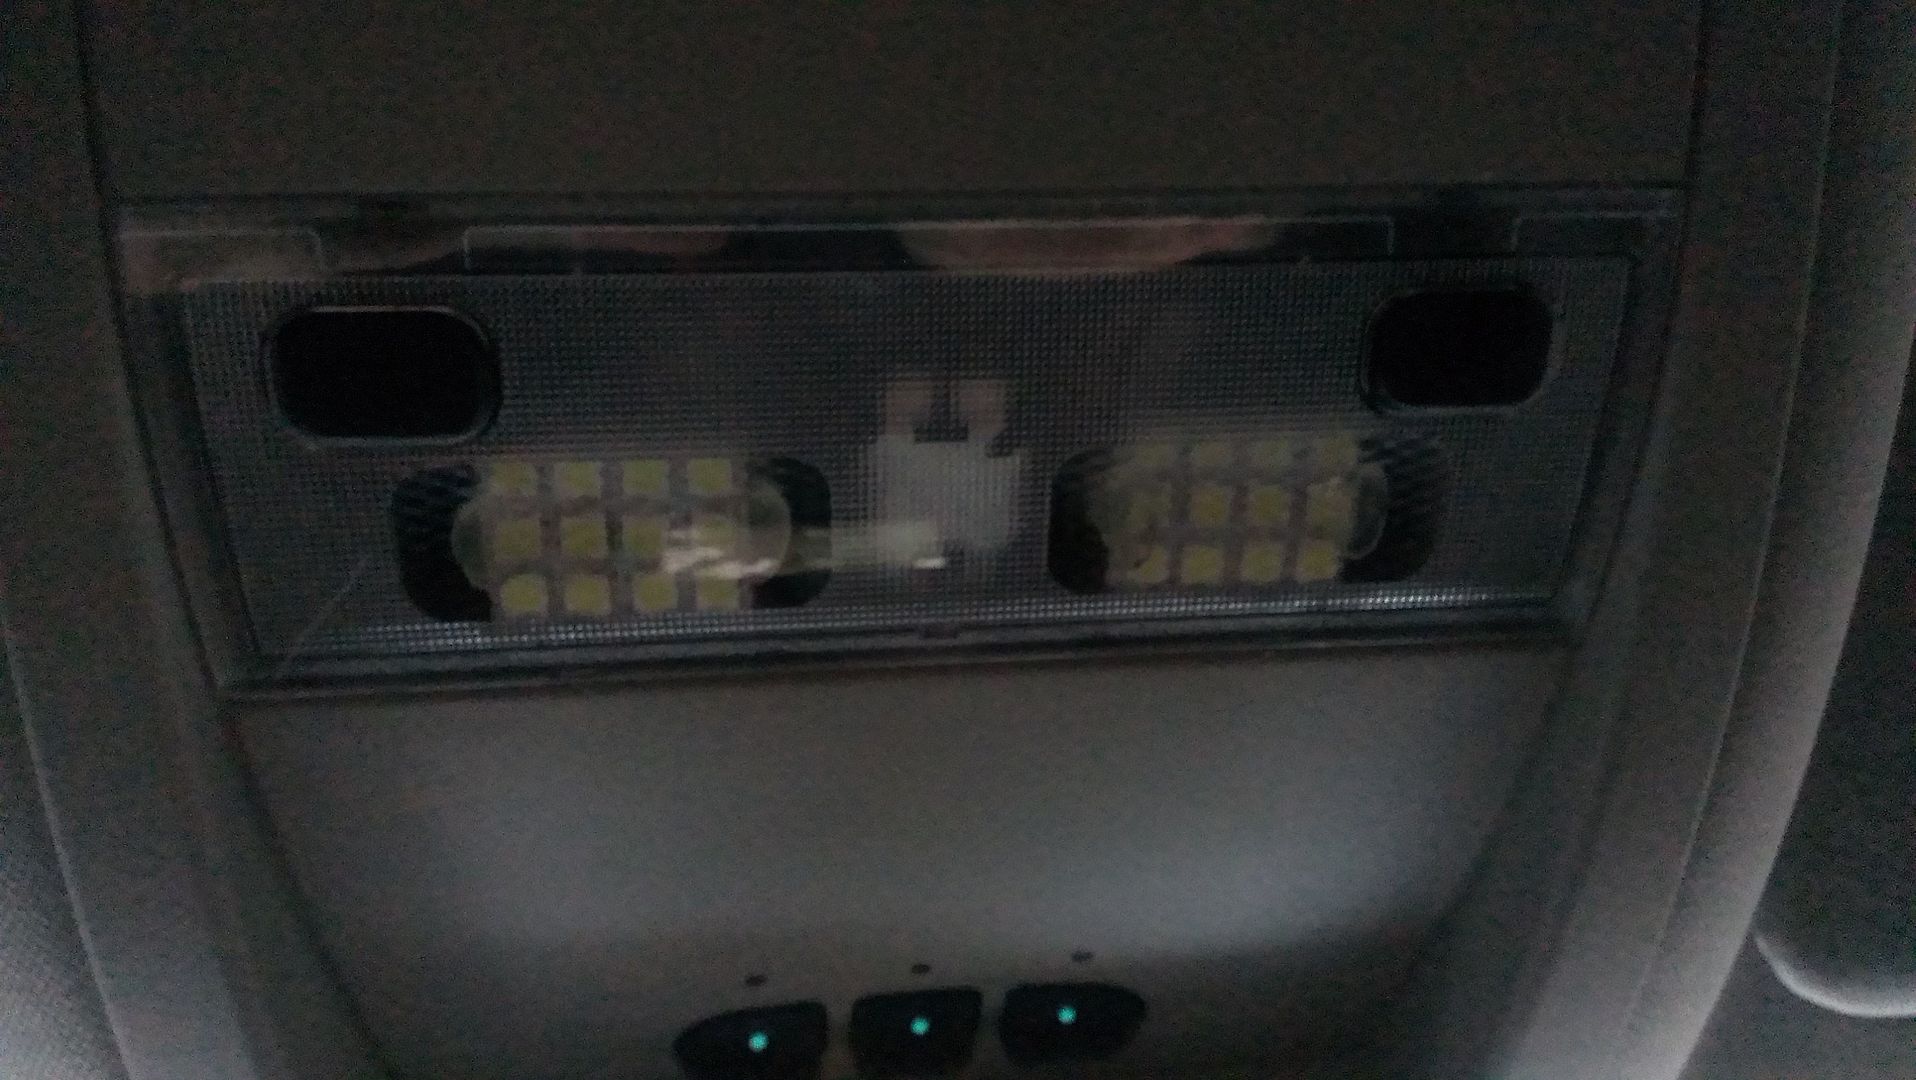
These are a little tougher since there is really no spot on inside to stick the panel or hot glue to. I opted to glue it to the inside of the lens cover.
After Popping the cover down via the screwdriver you used before, remove the stock bulbs.
I took my cover in the house so i could concentrate on gluing these perfectly center.
To glue I first put a dab of hot glue about 3/16 tall on either side where the LED panel would rest. Then after it dried i put another small dap to make the panel stick to those 2 original spots.
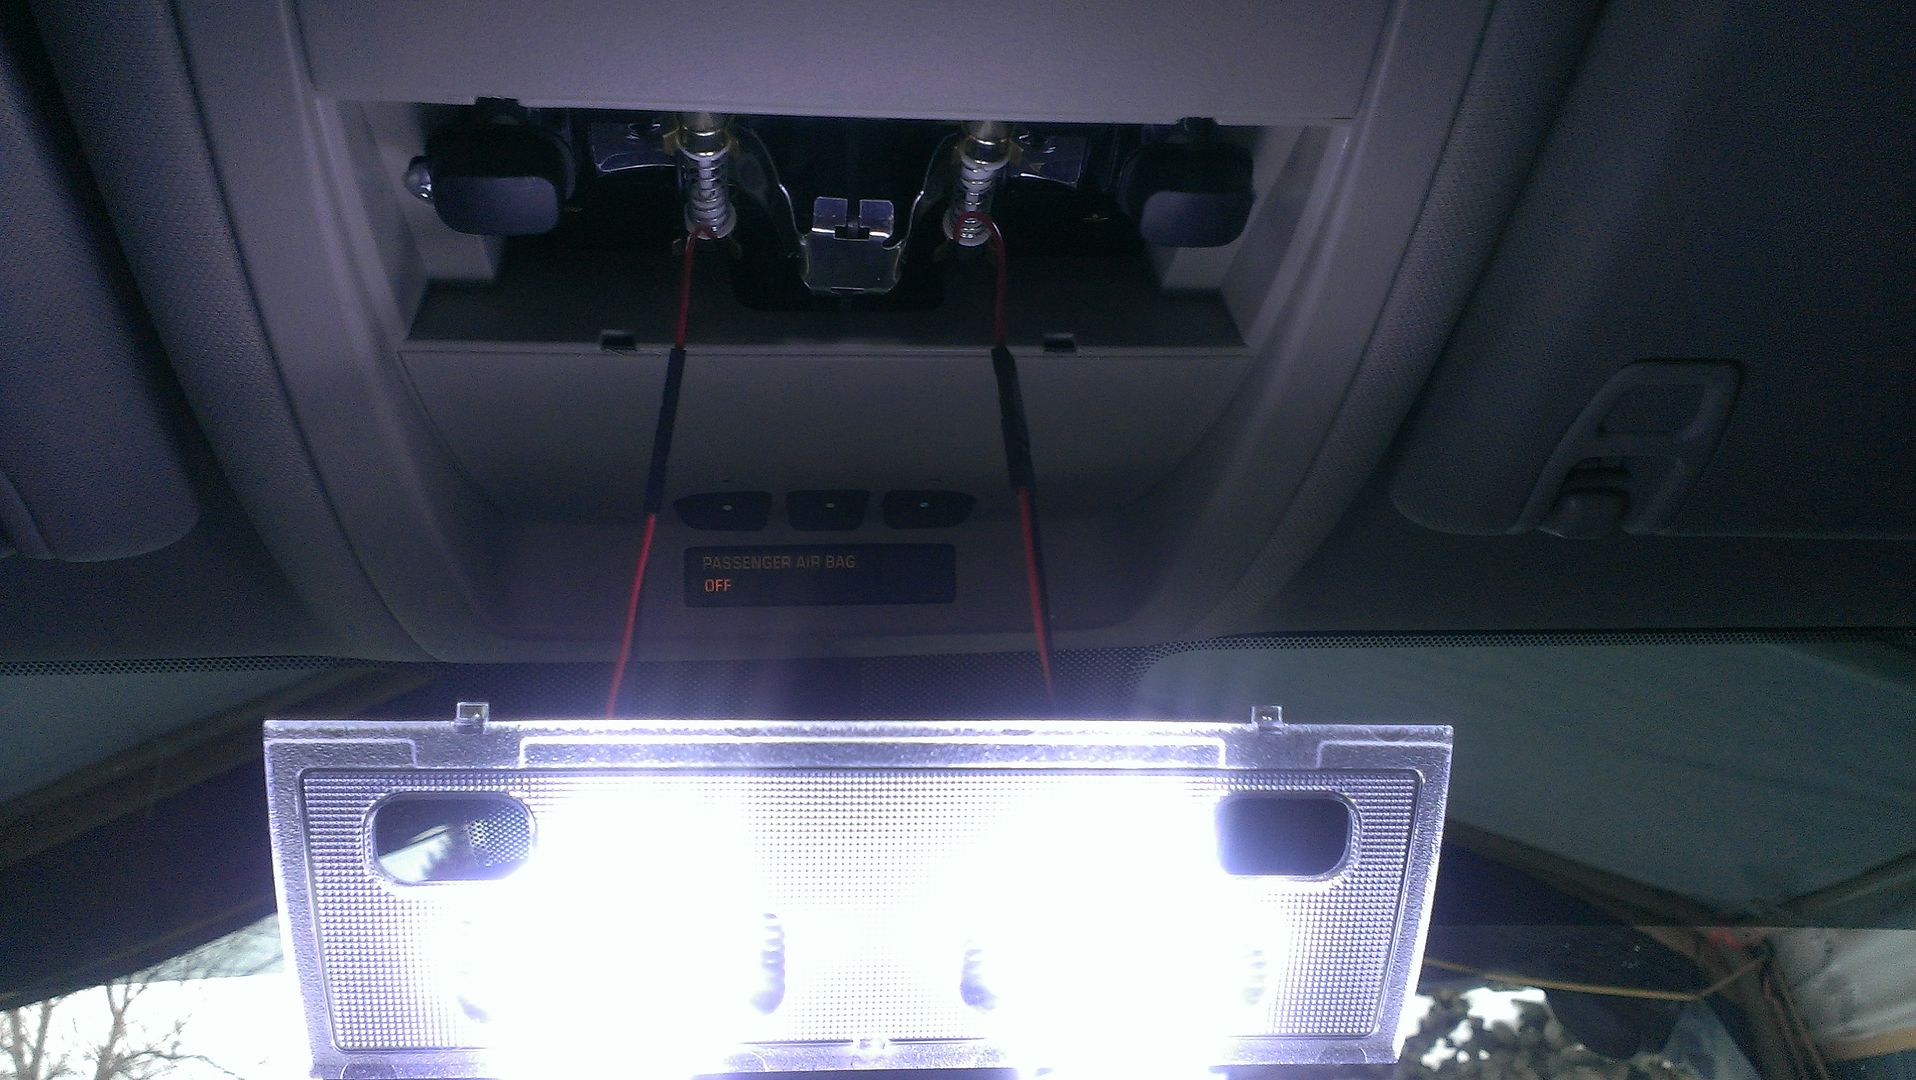
You have to work quick with hot glue and be careful! After getting both panels fixed to the cover, Put the LED adapters on and test in the overhead before snapping cover back in.
Route the wires, snap in , stand back and admire your work!
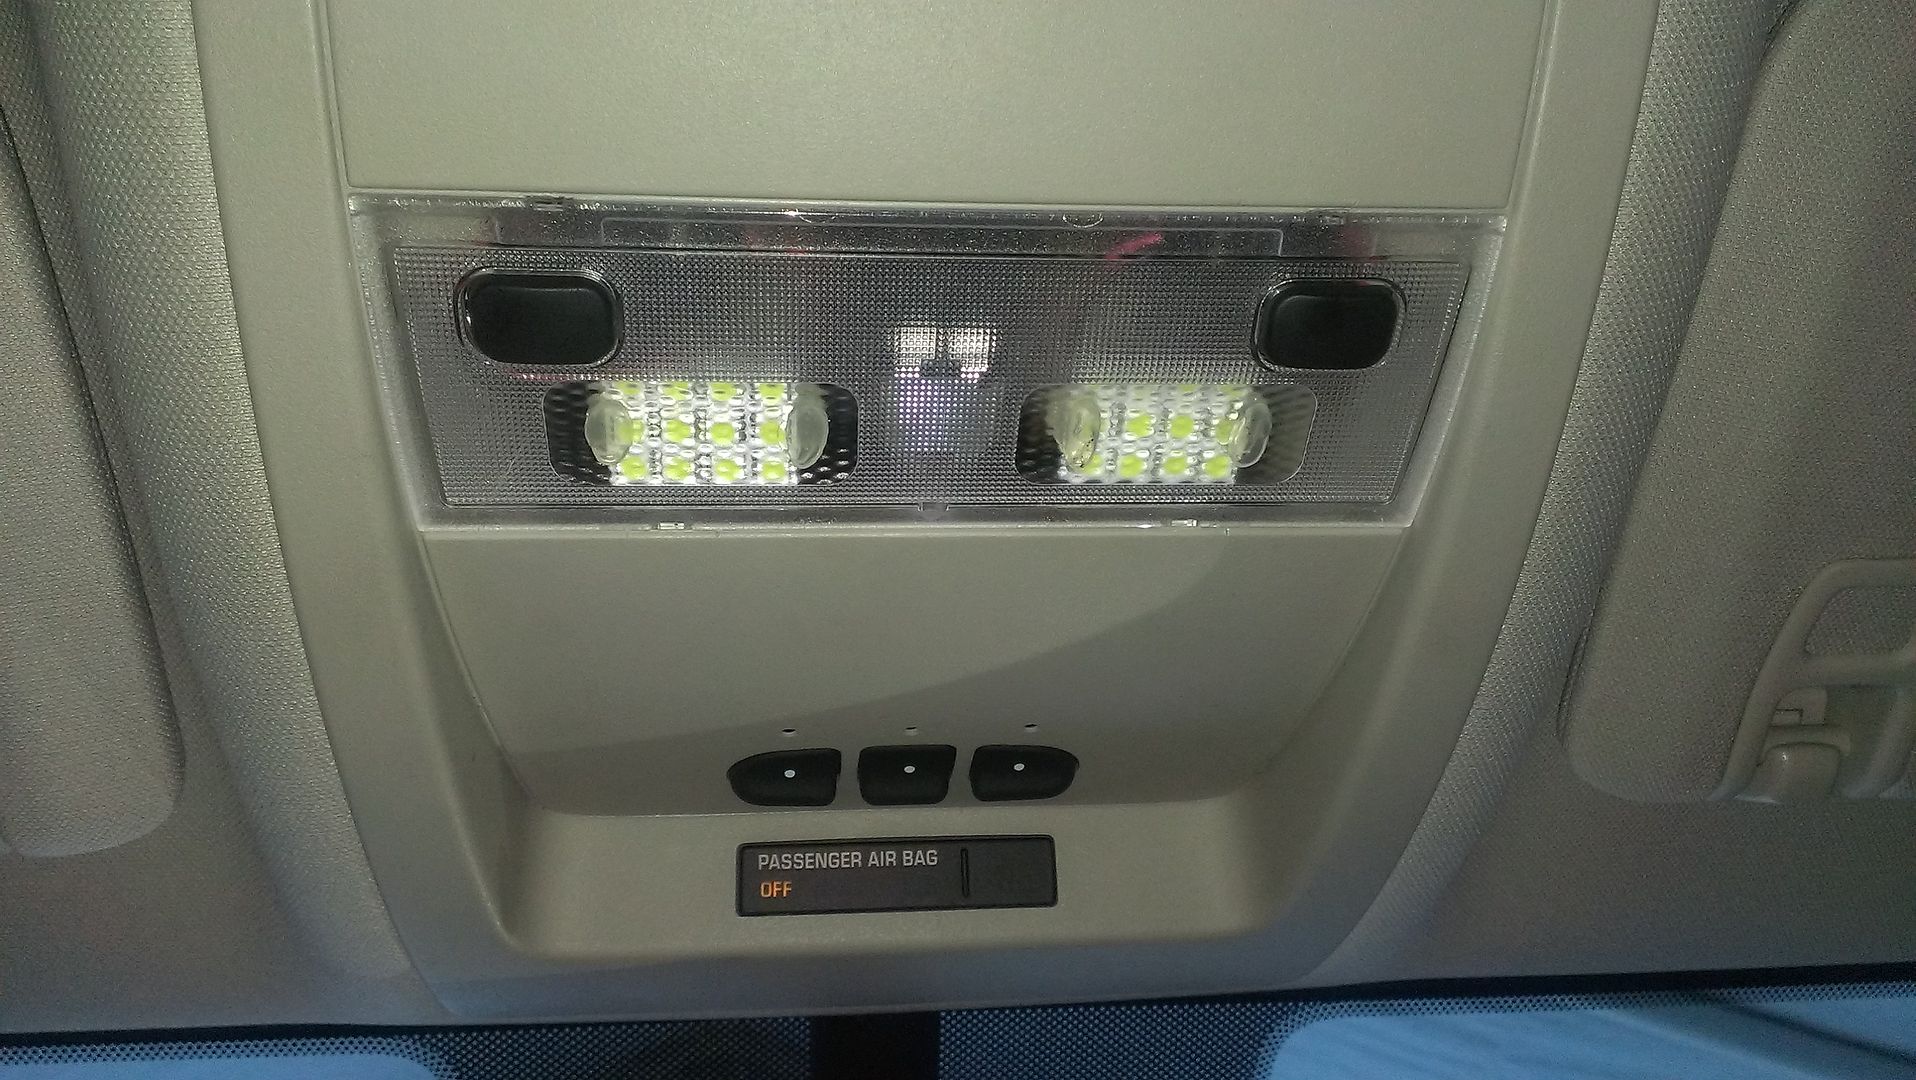
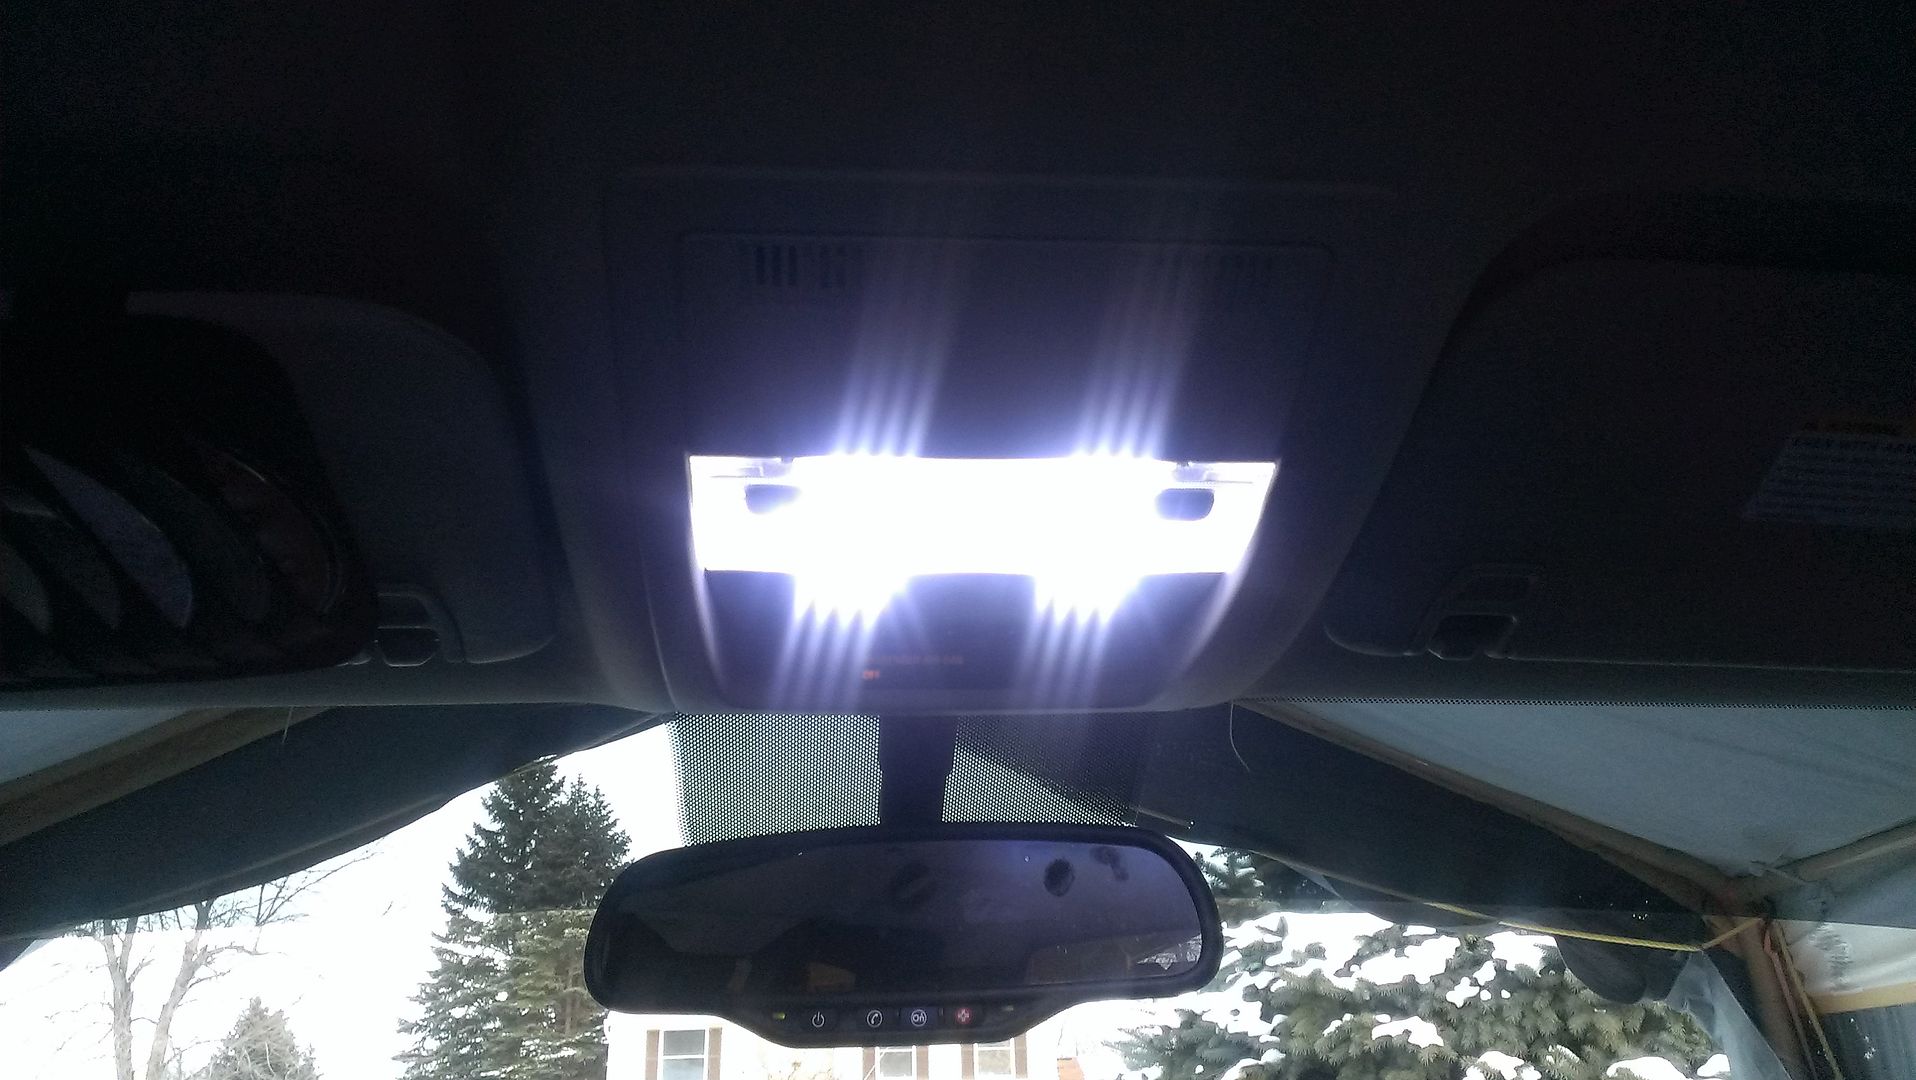
This is the final result! I think it turned out awesome, and looks a lot more luxurious than those stock bulbs.
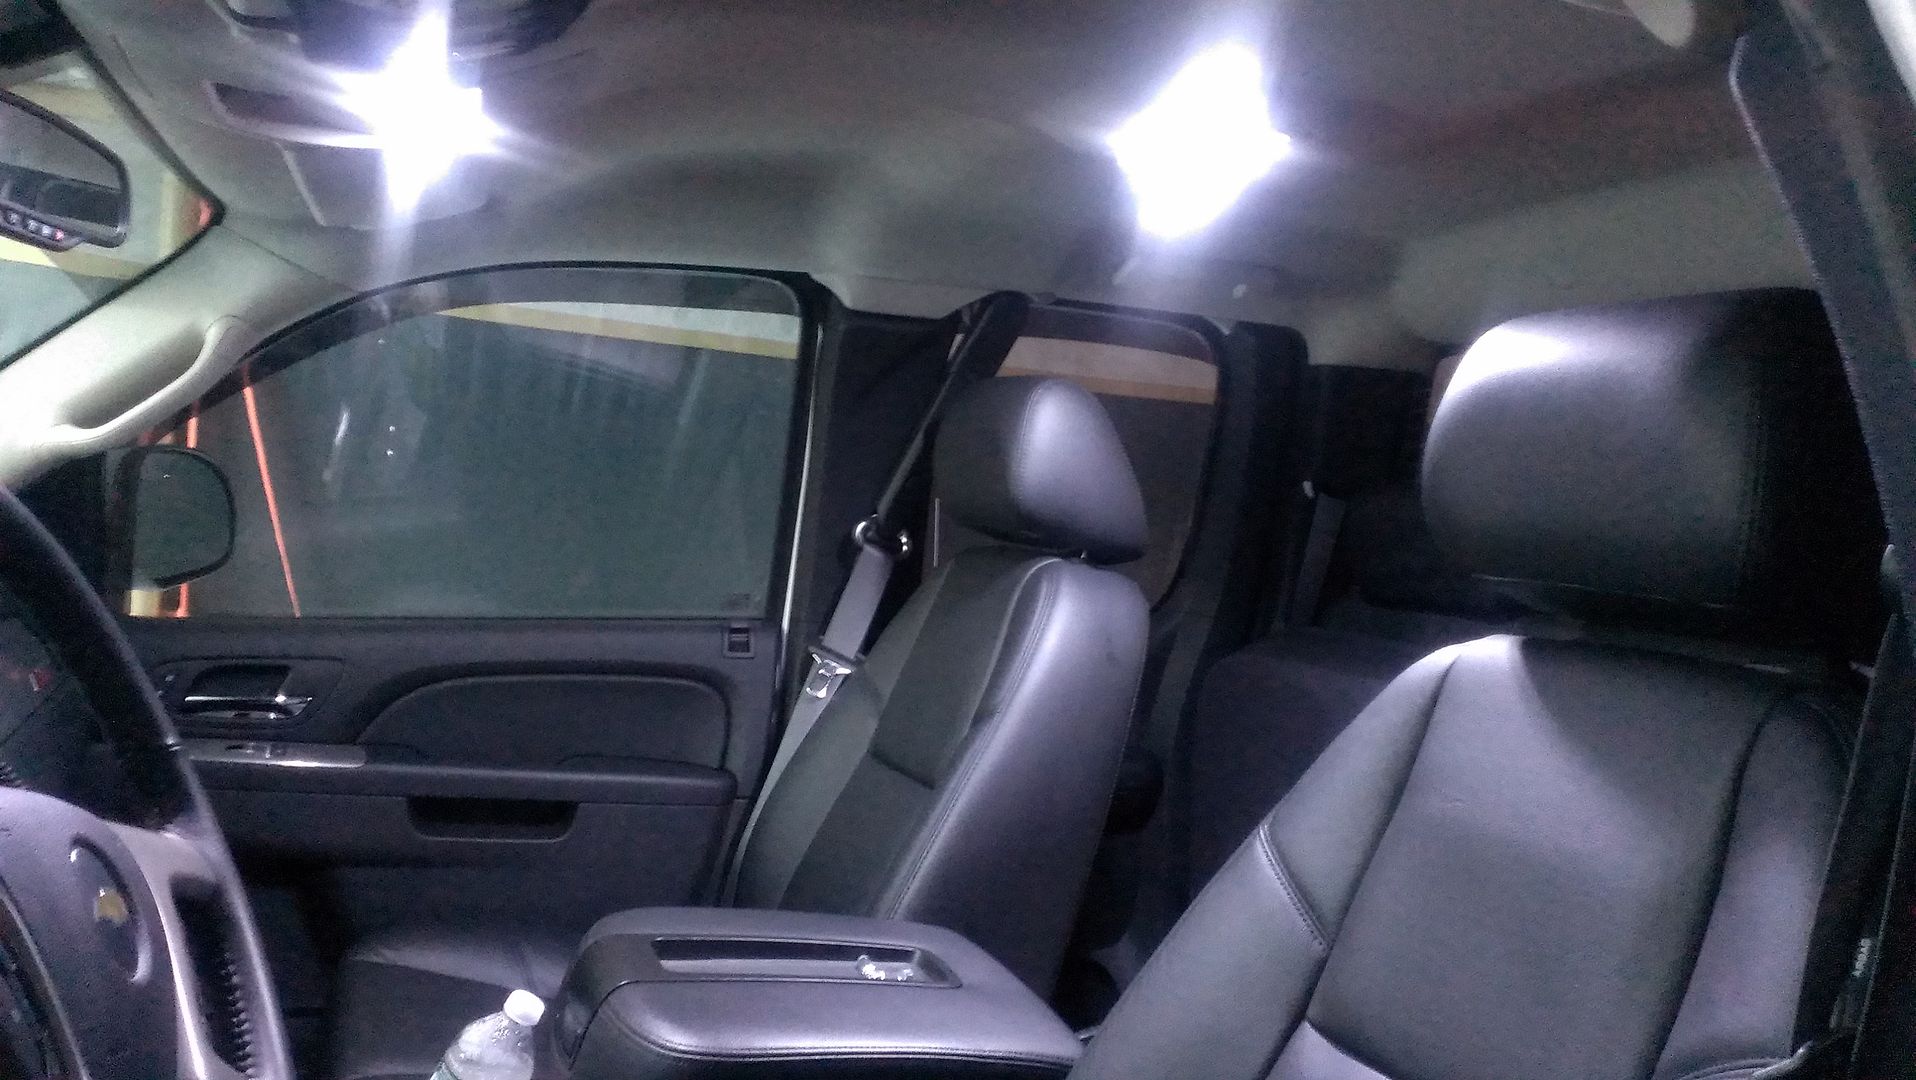
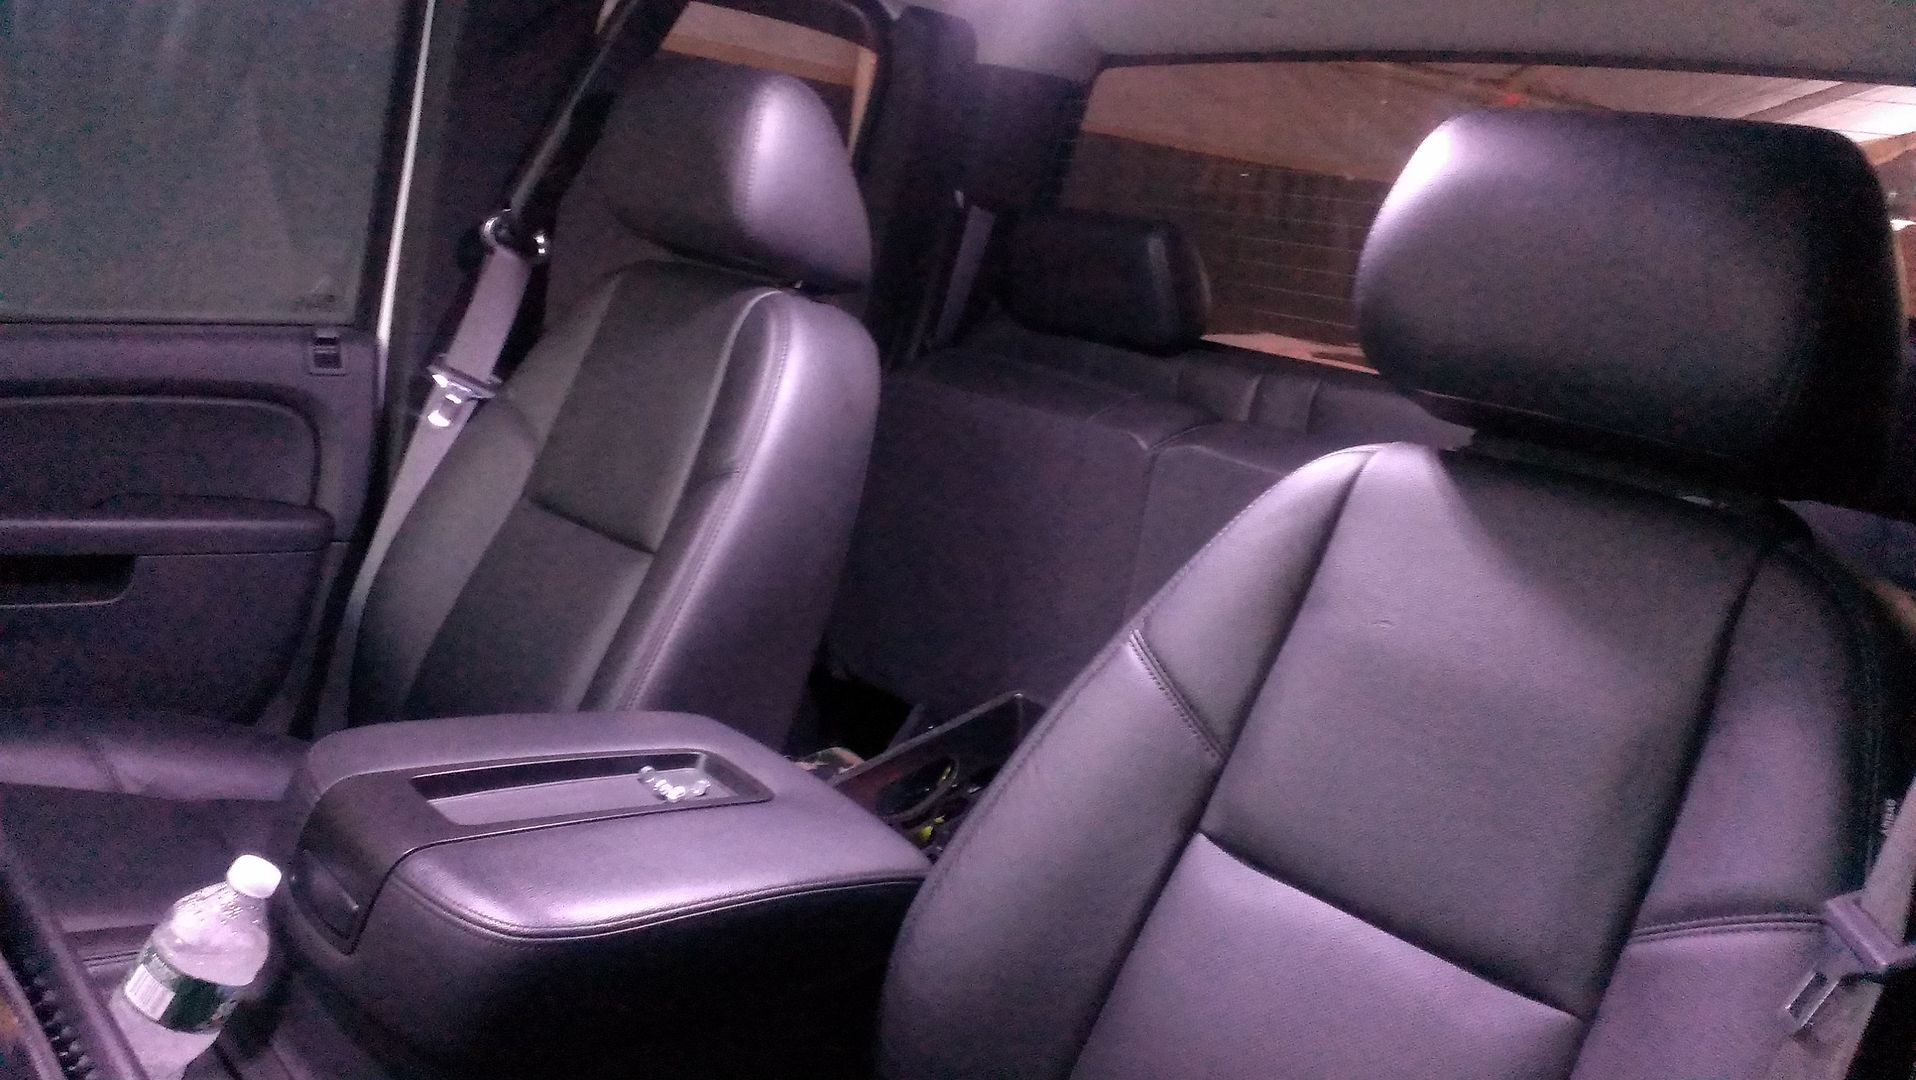
You really cannot see the hot glue on the map lights like it shows up in the pictures with the flash. That is why i took pics with no flash also.
I also took a little movie with an old classic playing that fits out trucks well! Click the picture below and it will take you to photobucket of the movie
Any questions feel free to ask!
