Originally picked up the horns for almost nothing. The plan was to put them on my 67 olds, but it turned out there was no place to fit them. So I decided to clean them up in hopes of selling them, or trading them for a good set of nathans. I bought new gaskets from Tom Aker on ebay and bought new hardware from the local specialty nut and bolt store.
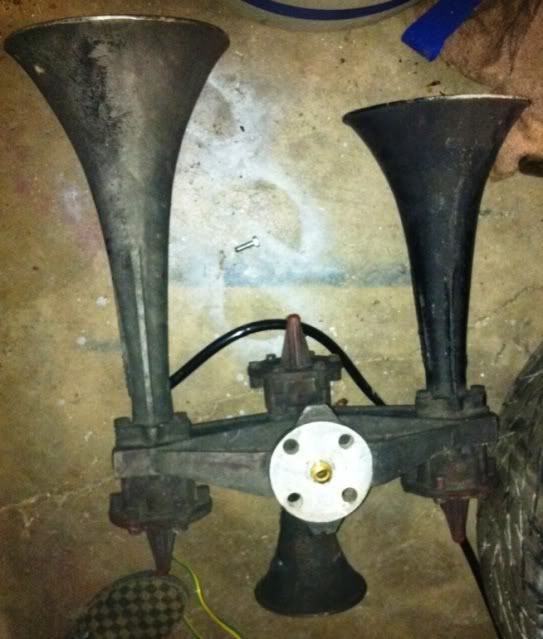
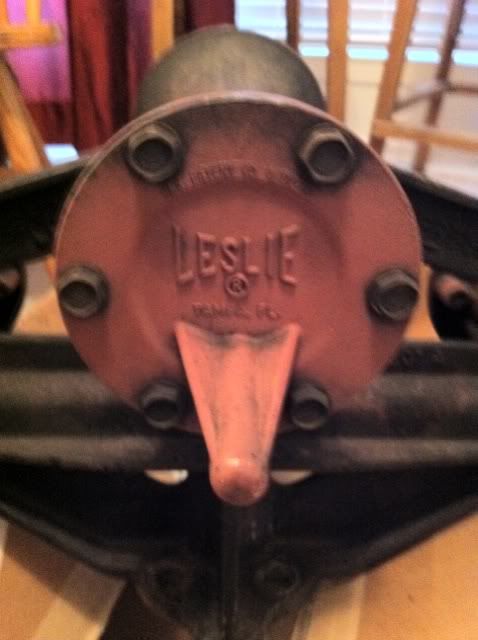
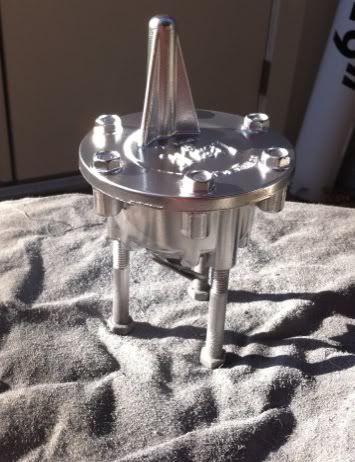
Heres the horns when I first received them:
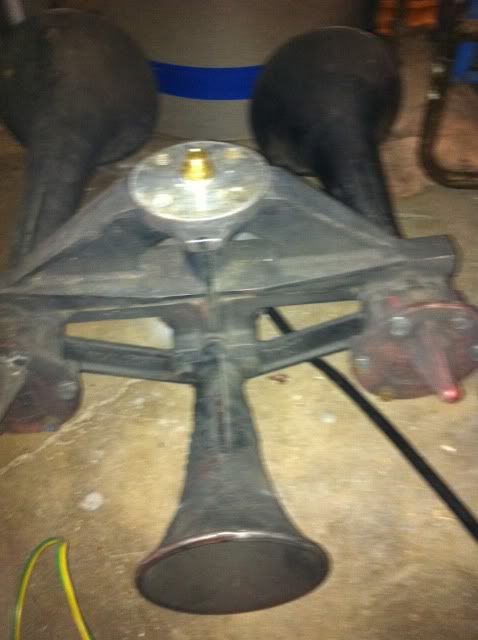
I got them home I gave them a good cleaning with soap and water:

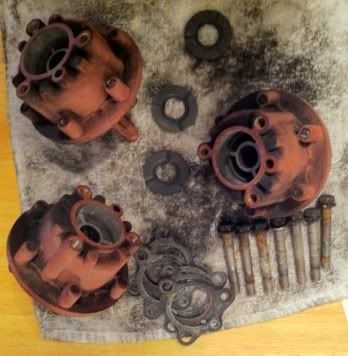
Then I tore them apart so I could get started on ordering parts and refinishing the horns:

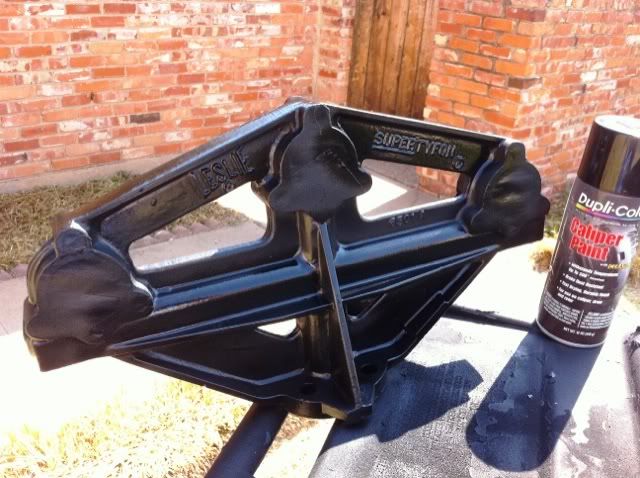
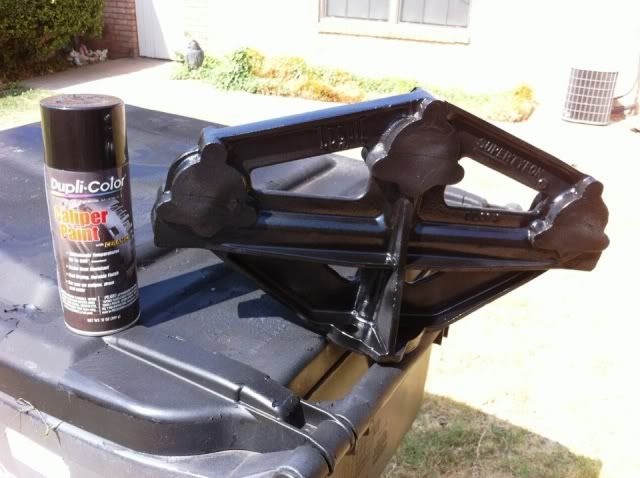
First piece I worked on was the manifold. I sanded it down and then taped up the ports. I painted it with gloss black caliper paint. I had some extra laying around and figured it would work well. It’s made for high heat and has ceramic in it so I’m sure it will hold up well.
Here’s where things get fuzzy. I received the gaskets in the mail and started moving fast to get the horns refinished. I didn’t get to take as many pictures as I would have liked. I sanded the power chambers with 320 grit and then taped up the bottom so that no paint would get into them. I sprayed them with self etching primer. I then put down a few coats of high gloss chrome paint as a base coat. I forgot to take a picture of the primer and this is the only picture i got of the chrome paint:
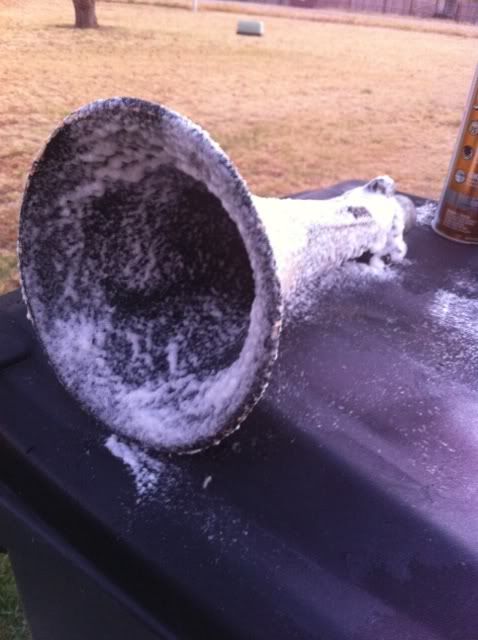
Next I moved on to the bells. I picked up some paint stripper and got to work. There were many layers of paint on these. I think at some point each bell may have been a different color. There was only black on the large #31 bell, but I found a beige color under the black of the #37 bell.
The #48 bell had a red color under the black. I got only two pictures of the stripping process but you can see over-spray in one picture from where I was testing the red color out on an old top to a jar of pickles:
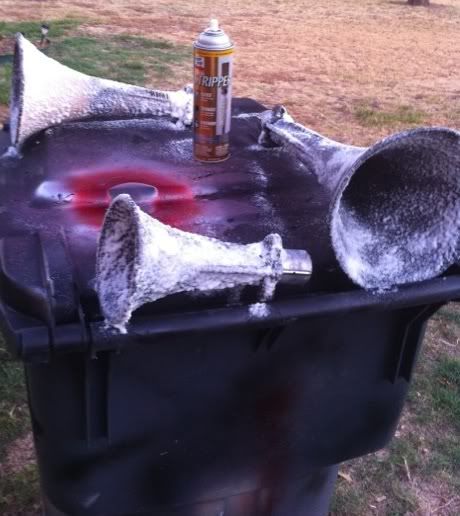
I knocked off the rest of the paint with a coarse grit stripping wheel on my cordless drill. Then sanded the bells with 320 grit. I taped up the end of the bells and sprayed them all with more of the self etching primer. Then I layed down the chrome paint in the insides of all the bells. What i used for the red color was actually Krylon X-Metals red. It says it gives an anodized color to bare metals but when I put it over the chrome base coat it turned out to be a deeper red. I liked it and it looks to me like a candy apple red color. After the red was all dry I moved on to painting the outsides of the bells. I picked up a can of rustoleum metallic charcoal for them. Unfortunately I didn’t get pictures of the process. The next picture I have is after I finished the #31 bell and put it on with the new gaskets from Tom Aker and the new hardware I picked up:

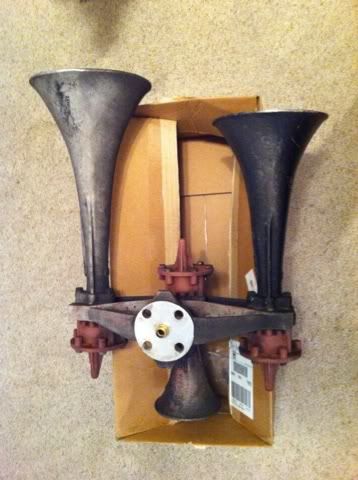
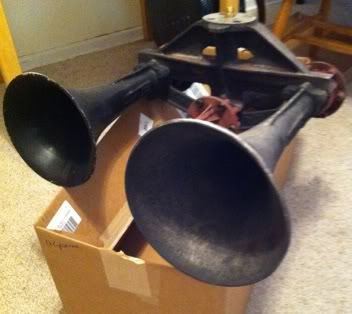
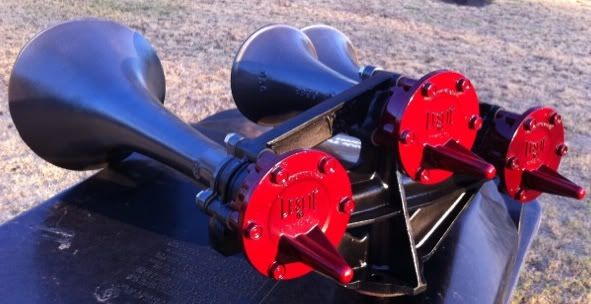
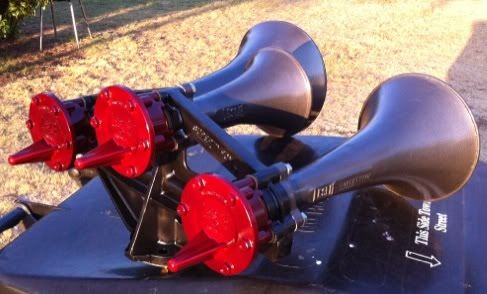
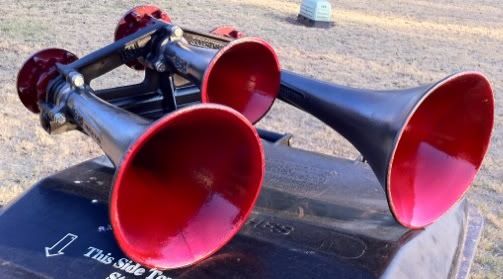
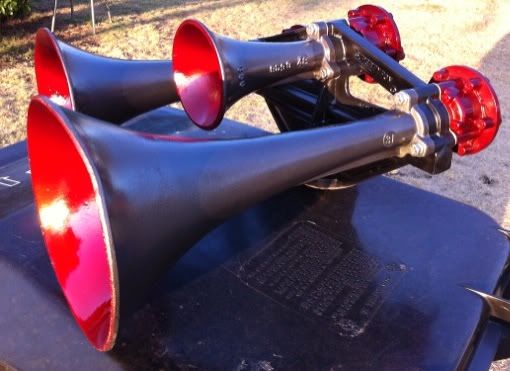
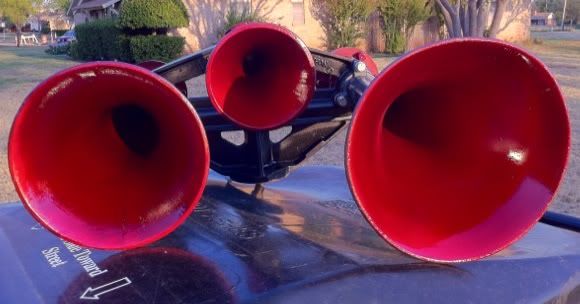
Here’s the rest of the after pictures:
I made a quick video after I had them all together. You can see it here:
http://www.youtube.com/watch?v=QTJg-crtE1I
I currently have the horns on dallas craigslist for sale. I need the money but I’m really hoping someone trades me for a set of nathans so I can do this all over again. I plan to get the individual mounting hardware so I can put them on my oldsmobile:
Thanks for checking out my build on these Leslie RS3K’s!