This is the new install. BUT IS NOT FINISHED!!! I Got loads & loads to do yet!
Basically, I have 5 x Shockers, three through the floor & two mounted under the back bumper point side ways to the left & right.
The reason I have 5? I split one of them and ordered a replacement from HORNBLASTERS.com and then whilst I was playing with install designs, it dawned on me that I could possibly glue the broken shocker. So I did and thats why I have two the same length. The lower damaged part is not seen.
I have LED’s & Stickers still to go on yet, a small pressure gauge to be mounted in the front and all the electrics still to do.
Ohh and I have to sort out one or two little leaks lol
Thanks M.O… But its still a long long way off being completed, its now gonna be about the little finishing touches;) I got so many ideas in my head, the latest being is to install a hidden camera somewhere to record the faces of the people I Honk with the remote control unit whilst its on display at car shows lol lol lol
Ok, so today I gave myself the day off and decided I woz gonna break the back of my install, so I knuckled down and got to work:D
Today’s agenda woz to sort the “Bubbles” out (air leaks), so I started by stripping all the pipework off and starting again. Once tested it was time to start on the wiring and fitting the other air pressure gauge in the front of the car.
To start off with…Before I started work…
The Tank all leak free…
The new SHOCKERS… BLING BLING…
I am illuminating the tops with LED’s, hence the middle one has been drilled…
I have mounted the horn switch just here and am not having it with the stock horn…this is more fun…Also I have a master kill switch to avoid passengers pushing the button by accident… hmm thats giving me an idea…a little sign saying “push here” lol…
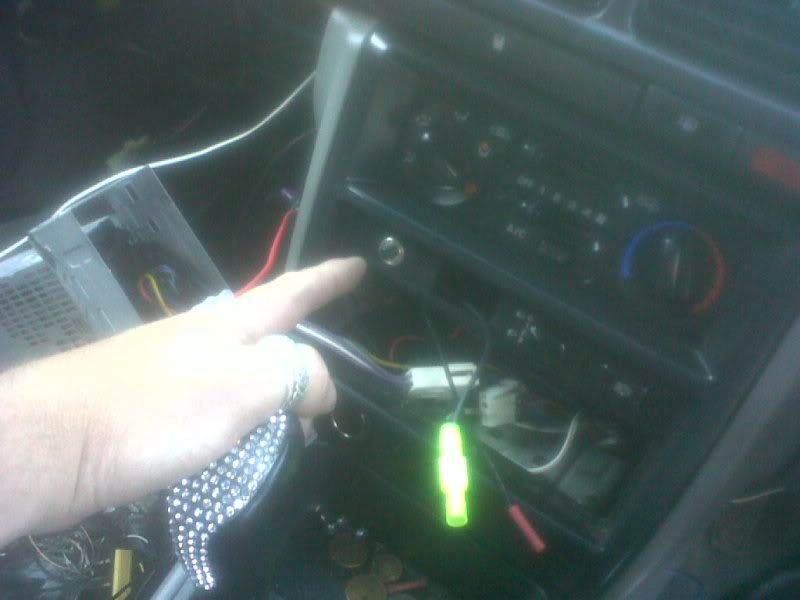
I mounted the small 200psi gauge in this compartment and then hit it with two LED’s…
I mounted the toggle switch to kill the compessors if required whilst driving, and stuck in a LED to indicate when the system is active…
I temp ran a feed to this to see if I liked it…
And finally…
I’m putting the car back together tomoz, Cant wait to Honk honk…
A clearer pic of the small 200psi gauge hidden away in the dash compartment…
The LEDS now fitted (looks cool at night reflecting off the Tank) All wiring will be hidden!!!..
The Tank is simply velcro’d in position to allow easier access to drain it when required… Next step is to measure up for STICKERS and finish the lighting!!!..
Ermmm I kinda made the shocker sign from…wait for it…Sink plug chain lol lol lol I overlaid & superglued it onto the clear bit of a Shocker decal I had, then peeled the clear part off and then carefully cut round it, thus giving me a two dimensional shocker.
Mostly bought from Ebay and delivered from Honk Konk & china mate. They are cheap as chips, 20 blue 12v LED’s for a couple of quid/bucks inc delivery & normally only taking just over a week to arrive.

 The lower damaged part is not seen.